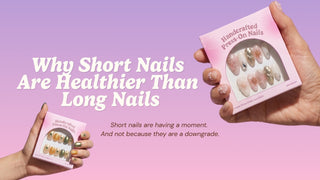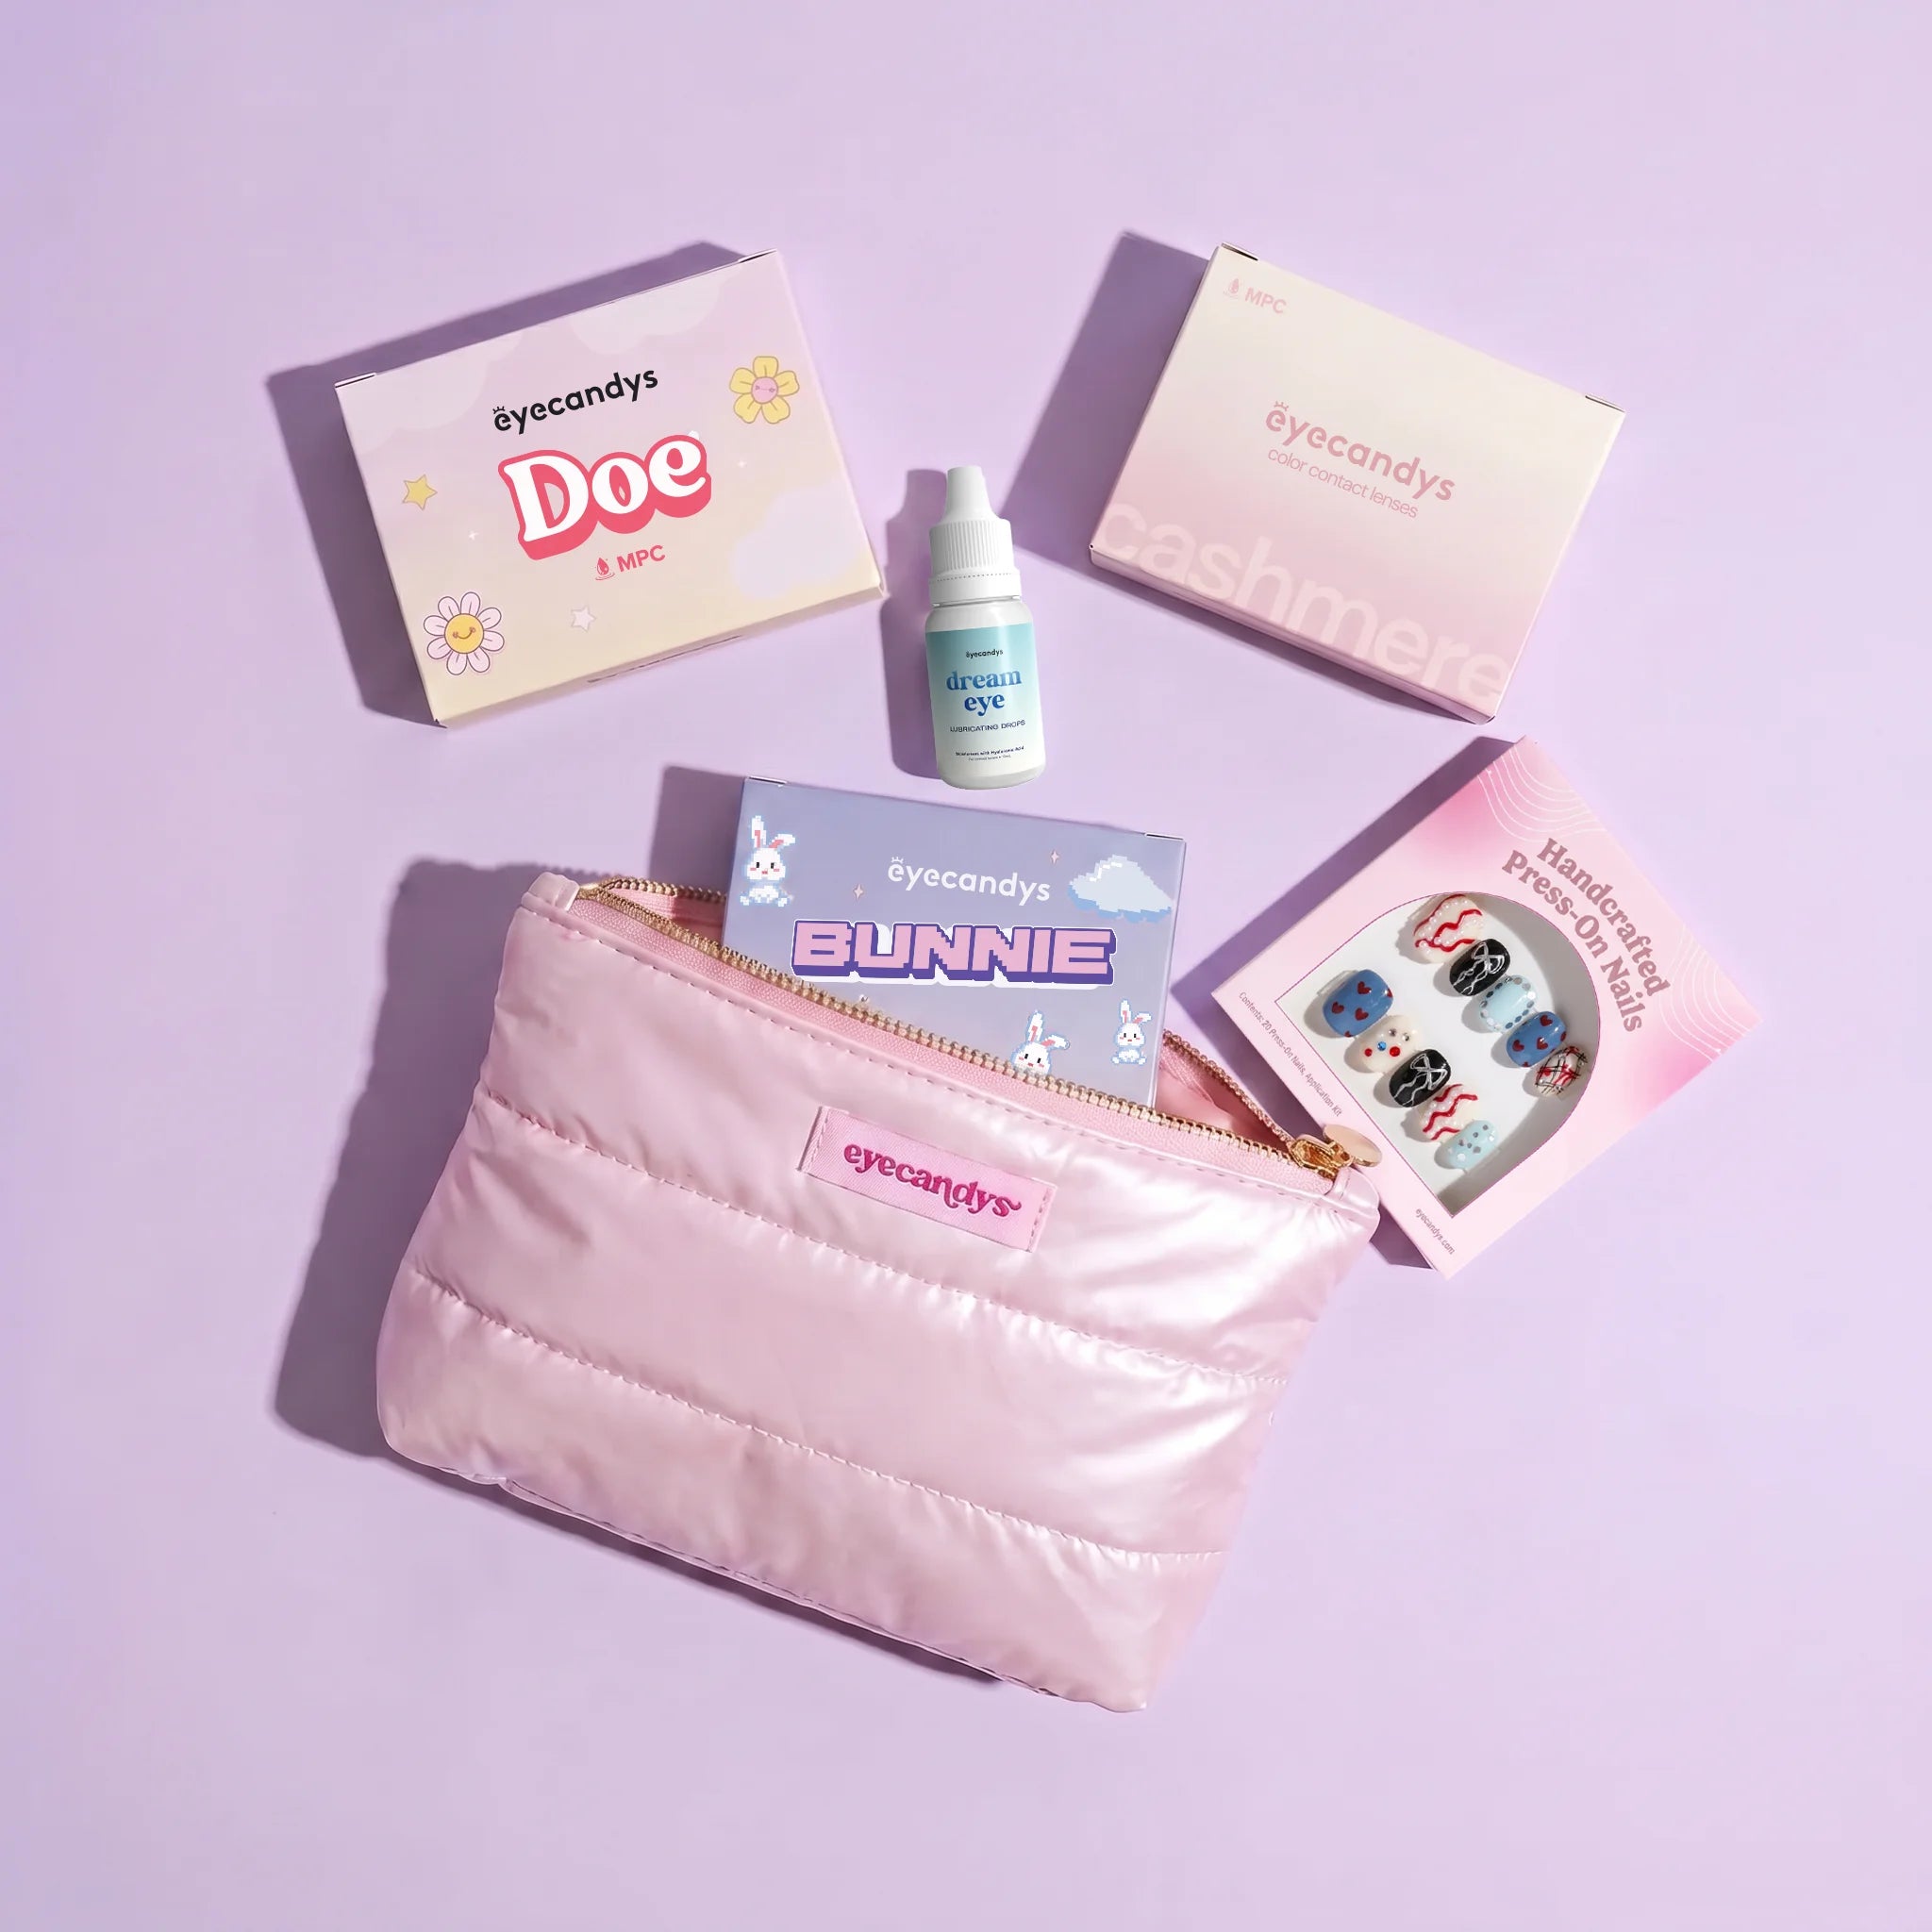

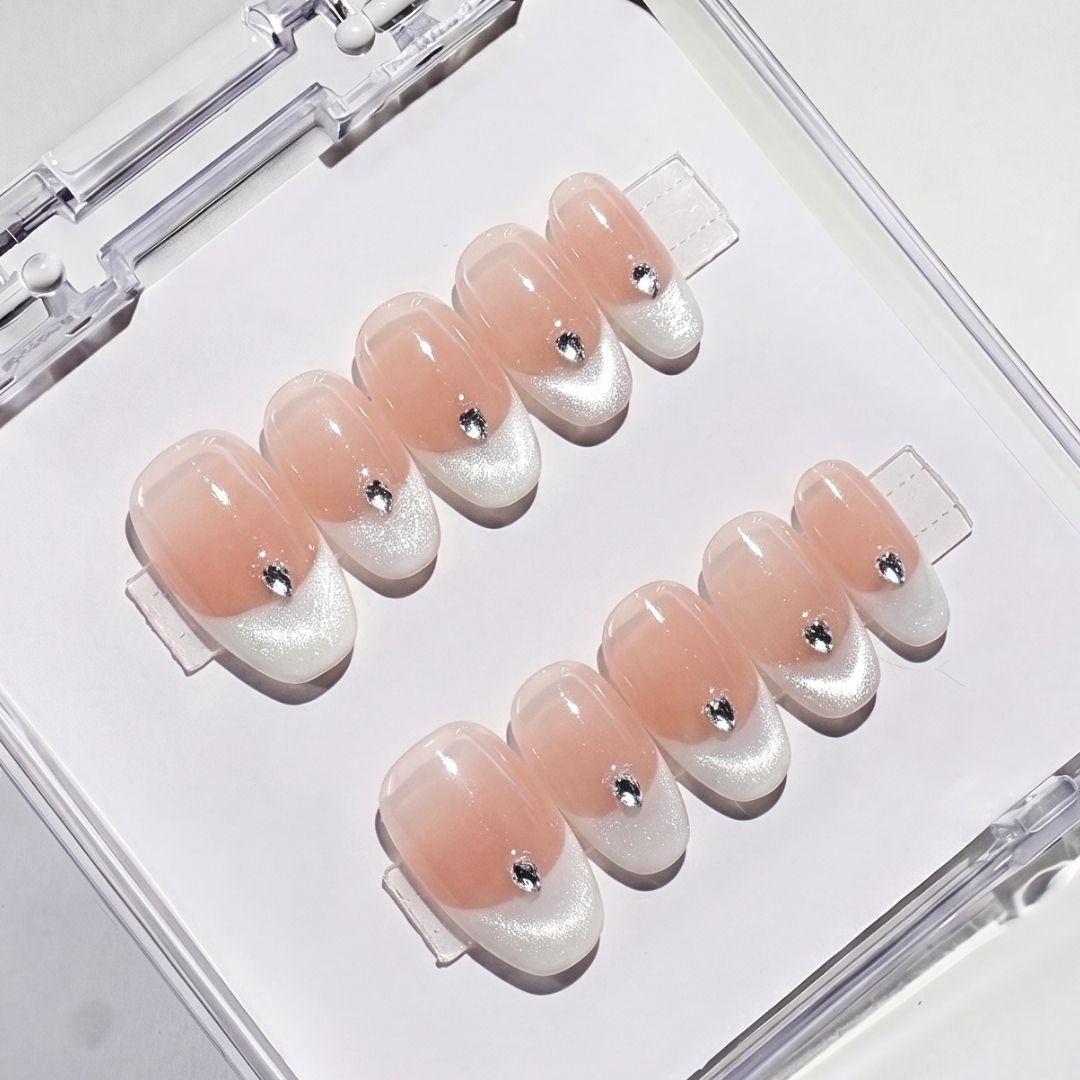

Press-on nails have come a long way from the quick drugstore sets many of us remember. Today's press-ons can look polished, stylish, and completely photo-ready, especially when they are handmade and designed with thoughtful colors, shapes, and details.
The best part? You do not need a salon appointment, dry time, or a complicated nail routine to get a beautiful manicure at home.
That said, the secret to a great press-on manicure is not just the nails themselves. It is the prep. Taking a few extra minutes before application can help your press-on nails look smoother, feel more secure, and last longer.
Whether you are applying EyeCandys handmade press-on nails for a weekend event, a cosplay look, a vacation, a photoshoot, or your everyday beauty routine, these pro tips will help you get the best result.
Start With Clean, Dry Nails
Before applying press-on nails, your natural nails should be completely clean and dry. Any leftover lotion, cuticle oil, sunscreen, polish, or natural oils can make it harder for the adhesive to bond properly.
Even if your nails look clean, wash your hands first and dry them thoroughly. Pay extra attention to the nail surface and the skin around the nails.
For best results
- Wash hands with soap and water
- Dry nails completely
- Remove old polish
- Avoid applying lotion right before application
- Avoid cuticle oil immediately before application
- Make sure the nail surface is oil-free
Cuticle oil and hand cream are great for daily nail care, but they should be used before application day or after removal, not right before applying press-ons.
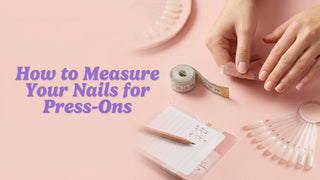
Choose the Right Nail Size for Each Finger
Sizing is one of the most important parts of applying press-on nails. A nail that is too small may leave gaps on the sides, while a nail that is too large can overlap onto the skin and lift more easily.
Before applying adhesive, lay out the press-on nails and match each one to your natural nails. The press-on should cover your nail from sidewall to sidewall without touching the surrounding skin.
A good fit should
- Cover the natural nail fully
- Sit comfortably from side to side
- Avoid overlapping onto the skin
- Follow the shape of your cuticle area
- Feel balanced on the finger
If you are between sizes, it is usually better to choose the slightly larger nail and gently file the sides for a custom fit. This helps the press-on sit more naturally on your nail.
Gently Push Back Your Cuticles
Pushing back your cuticles helps create more space on the nail plate and allows the press-on to sit closer to the base of the nail. This can make the manicure look more natural and help reduce lifting.
Use a cuticle pusher or orangewood stick and be gentle. You do not need to cut your cuticles or force anything back. The goal is simply to tidy the nail area before application.
This step can help:
- Create a cleaner nail surface
- Make press-ons look more natural
- Reduce gaps near the cuticle
- Improve overall placement
- Give the manicure a more polished finish
If your cuticles are dry, irritated, or painful, skip aggressive pushing and focus on gentle care instead.
Gently pushing back cuticles creates a cleaner nail surface and helps press-ons sit closer to the base — reducing gaps and lifting.
Lightly Buff the Nail Surface
A light buff can help the adhesive grip the natural nail better. The key word here is lightly.
You are not trying to thin the nail or remove layers. You are just creating a slightly textured surface so the press-on has something to hold onto.
Use a gentle buffer and lightly go over each nail. Avoid over-buffing, especially if your nails are already thin, peeling, or weak.
After buffing, remove any dust from the nail surface before applying adhesive.
Wipe Nails Before Applying
After shaping, buffing, and pushing back cuticles, wipe each nail clean. This helps remove dust, oil, and residue that may interfere with adhesion.
If your press-on nail kit includes an alcohol prep pad, use it on each nail and let the nails dry fully before application. If not, make sure your nails are freshly washed, fully dry, and free of product.
This small step can make a big difference in how well your press-ons stay in place.
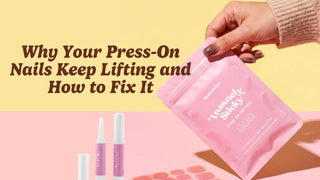
Decide Between Nail Glue and Adhesive Tabs
Press-on nails are usually applied with nail glue or adhesive tabs. Both can work, but they are best for different situations.
Nail glue generally gives a stronger hold and is better if you want your press-ons to last longer. It is a good choice for events, travel, cosplay weekends, or everyday wear when you want more staying power.
Adhesive tabs are usually easier to remove and better for shorter wear. They are great if you only want to wear your nails for a few hours, a photoshoot, a costume, or one specific event.
Nail Glue — Best For
- Longer wear
- Vacations and travel
- Events and busy weekends
- Cosplay and conventions
- Everyday manicures
Adhesive Tabs — Best For
- Short-term wear
- Photoshoots and content
- Costumes and events
- Easier removal
- Beginner-friendly option
Follow the instructions included with your specific press-on set. If you are new to press-ons, adhesive tabs can be a beginner-friendly option. If you want more durability, glue is usually the better choice.
Apply Adhesive Carefully
Whether you are using glue or tabs, application matters.
If using nail glue, apply a small amount to your natural nail and, if directed, the back of the press-on nail. Avoid using too much glue. Excess glue can squeeze out around the edges, make the manicure messy, or stick to your skin.
If using adhesive tabs, choose the tab that fits your natural nail best. Press it firmly onto the nail, smooth it down, and peel off the backing before placing the press-on.
- Use enough glue for coverage, but not so much that it floods the edges
- Keep glue away from the skin
- Place adhesive tabs smoothly without wrinkles
- Avoid touching the sticky side once applied
- Work one nail at a time for better control
Slow, careful application gives a cleaner result than rushing through the full set.
Place the Nail at the Cuticle First
For the most natural look, place the press-on nail near the cuticle first, then lower it onto the rest of the nail.
Angle the press-on slightly downward toward the cuticle area, place it just above the cuticle line, then press it down firmly toward the tip. This helps reduce air bubbles and gives the manicure a smoother finish.
Avoid placing the nail too far above the cuticle, which can make it look grown out right away. Also avoid pressing it onto the cuticle or surrounding skin, which can cause lifting.
The goal is close, clean placement without touching the skin.
Start placement at the cuticle line and press down toward the tip — this minimizes air bubbles and keeps the manicure looking fresh, not grown-out.Type your text here
Press and Hold Each Nail
Once the press-on is placed, press down firmly for several seconds. Make sure you apply pressure across the whole nail, including the center, sides, and tip.
This helps the adhesive bond evenly and reduces the chance of lifting.
- Press each nail firmly after placement
- Hold for the recommended amount of time
- Apply pressure from cuticle to tip
- Press the sides gently too
- Avoid shifting the nail once it is placed
If you notice the nail is crooked, fix it immediately before the adhesive sets. Once it has bonded, pulling it up can weaken the hold.
Apply Thumbs Last
This is one of the best press-on nail application tips because it makes the whole process easier.
Your thumbs help with peeling adhesive tabs, opening glue, pressing nails into place, and adjusting the set. If you apply your thumbs first, the rest of the process can feel clumsier.
Apply your other fingers first, then finish with your thumbs at the end.
This small order change can make your application feel much smoother, especially if you are new to press-ons.
Avoid Water Right After Application
After applying press-on nails, avoid soaking your hands or exposing them to water right away. Water can interfere with the adhesive before it has fully bonded.
Try to avoid washing dishes, taking a long shower, swimming, or soaking your hands immediately after application. If you can, apply your press-ons after your shower and after any heavy handwashing tasks are done.
- Avoid water for the first few hours when possible
- Do not soak hands right after application
- Wear gloves when cleaning or washing dishes
- Avoid using your nails as tools
- Be gentle with your hands after applying
This helps your press-ons stay secure and keeps the edges from lifting too soon.
File or Shape After Applying If Needed
Once your press-ons are applied, you can gently file the tips if you want to soften the shape or adjust the length slightly.
This is especially helpful if you prefer a custom fit or if one nail feels a little sharper than the others. Use gentle pressure and file carefully.
Avoid aggressive filing, especially around detailed nail art or handmade designs. You do not want to damage the finish.
How to Make Press-On Nails Last Longer
A good press-on manicure starts with prep, but your habits after application matter too.
To help your press-ons last longer
Start with clean, dry, oil-free nails
Apply cuticle oil around the nails after the adhesive has fully set
Choose the correct size for each nail
Be gentle when styling hair, getting dressed, or handling bags
Lightly buff the natural nail
Wear gloves for cleaning
Use the right adhesive for your wear goals
Avoid using nails to open cans or packages
Press and hold each nail firmly
Avoid water immediately after application
Press-on nails can be durable, but they are still nails. Treating them with care helps keep them looking fresh.
Common Press-On Nail Mistakes to Avoid
Press-on nails are easy to apply, but a few common mistakes can affect how they look and wear.
- Applying nails over lotion or oil
- Skipping nail prep
- Choosing nails that are too large
- Placing nails too far from the cuticle
- Using too much glue
- Touching adhesive tabs too much
- Not pressing long enough
- Washing hands immediately after applying
- Pulling nails off during removal
- Using nails as tools
Most press-on issues come down to prep, sizing, or rushing. Taking your time helps the manicure look cleaner and last longer.
The biggest reason press-ons lift early? Oil. Keep nails clean, dry, and free of product before application.
Can You Reuse Press-On Nails?
Some press-on nails may be reusable depending on how they are applied, worn, and removed. Adhesive tabs are usually better if you want to preserve the nails for another wear, while glue can make reuse harder because it may leave residue on the back of the press-on.
If you want to reuse your press-ons, remove them gently and clean off any leftover adhesive according to the product instructions. Store them safely so they do not get scratched, bent, or lost.
- Use adhesive tabs for easier removal
- Avoid forcing nails off
- Remove leftover adhesive carefully
- Store nails in their original packaging if possible
- Keep them away from heat, moisture, and dust
Handmade press-on nails can feel like tiny accessories, so treating them gently can help you get more from your set.
How to Remove Press-On Nails Safely
Application is important, but removal matters just as much. Never rip or force press-on nails off. Pulling them off can damage the surface of your natural nails and leave them feeling weak or rough.
Follow the removal instructions for your specific press-on set and adhesive type. In general, soaking and patience are much safer than peeling.
After removal, wash your hands, apply cuticle oil, and moisturize. If your nails feel dry or sensitive, give them a little time before applying another set.
Why EyeCandys Handmade Press-On Nails Are Worth Trying
EyeCandys handmade press-on nails make it easy to get a polished manicure at home without waiting for polish to dry or booking a salon appointment.
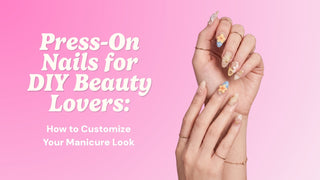
They are perfect for beauty lovers who want their nails to match their mood, outfit, event, or cosplay look. Whether you want soft everyday nails, bold statement designs, romantic spring colors, or character-inspired details, press-ons make it simple to switch up your style.
Because they are handmade, each set feels more intentional than a basic polish change. You get color, design, and shape in one easy application.
Final Takeaway: Great Press-On Nails Start With Great Prep
Press-on nails are one of the easiest ways to get a beautiful manicure at home, but the best results come from taking your time.
Start with clean, dry nails. Choose the right size. Push back cuticles gently. Buff lightly. Apply adhesive carefully. Press each nail firmly. Then give the manicure a little time to set before exposing it to water.
With the right prep and a little care, EyeCandys handmade press-on nails can give you a polished, photo-ready manicure without the salon appointment.
The finished result: a polished, photo-ready manicure at home — no salon appointment needed.
Ready to Try EyeCandys Handmade Press-On Nails?
Find your next favorite set — from everyday neutrals to bold statement designs and cosplay-ready styles. New sets added regularly.