

Press-on nails are one of the easiest ways to get a polished manicure at home, but the secret to making them last is not just the set you choose. It is how you prep, apply, wear, remove, and store them.
If your press-ons keep lifting, popping off, or feeling loose too soon, your nails may not be the problem. Small application details can make a big difference, from choosing the right size to keeping your natural nails clean, dry, and oil-free before applying adhesive.
The good news? Making press-on nails last longer does not have to be complicated. With the right prep and a few pro-level habits, you can get a smoother fit, stronger hold, and better wear from your EyeCandys handmade press-on nails.
Why Nail Prep Matters
Nail prep is the foundation of a long-lasting press-on manicure. Even the strongest adhesive will not work as well if your natural nails have oil, lotion, water, dust, or old polish on them.
Think of press-on nail prep like skincare before makeup. When the base is clean and smooth, everything sits better.
Before applying press-ons, take a few extra minutes to prepare your natural nails. This helps the adhesive bond more securely and reduces the chance of lifting around the edges.
A good prep routine includes:
- Removing old polish
- Washing and drying your hands
- Gently pushing back cuticles
- Lightly buffing the nail surface
- Wiping each nail with an alcohol pad
- Letting nails dry completely before application
EyeCandys’ application guidance recommends lightly buffing your nails, pushing cuticles back with the cuticle stick, wiping each nail with the alcohol pad, and letting nails dry completely before applying press-ons.
Skipping prep might save a few minutes in the moment, but it can shorten your wear time later.
Start With Clean, Dry, Oil-Free Nails
Clean, dry, oil-free nails are one of the most important factors in making press-ons last longer.
Lotion, sunscreen, cuticle oil, soap residue, and natural nail oils can all interfere with adhesive. Even if your nails look clean, there may still be residue on the surface.
Before application, avoid using:
- Hand cream
- Cuticle oil
- Body oil
- Sunscreen
- Heavy soap residue
- Nail treatments that leave a slick finish
This does not mean you should skip hand and cuticle care altogether. Moisturizing is great for nail health, but timing matters. Use cuticle oil and hand cream as part of your regular routine, then make sure your nails are clean and oil-free before applying press-ons.
A good rule: hydrate before application day, then degrease before application.
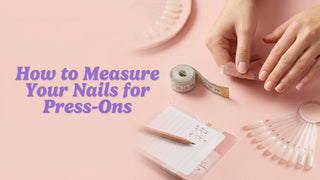
Size Your Press-Ons Correctly
Sizing can make or break your press-on manicure. A nail that is too small may not fully cover your natural nail, which can make the set look less natural and create weak points. A nail that is too large can overlap onto the skin, which makes lifting more likely.
The best fit should cover your natural nail from edge to edge without touching the surrounding skin.
Before applying adhesive, lay out all 10 press-ons and match each one to your natural nails. Do this before you start sticking anything down, so you are not scrambling mid-application.
A good press-on fit should:
- Cover your natural nail from side to side
- Sit flat against the nail plate
- Avoid overlapping the skin
- Follow the natural curve near the cuticle
- Feel comfortable on the finger
- Look balanced with the rest of the set
EyeCandys’ application guide recommends laying out all 10 press-ons before applying, matching them edge to edge without overlapping skin, and choosing the smaller size if you are between two sizes.
If a press-on is slightly too wide, you can gently file the sides for a more custom fit. Taking this extra step helps the nail sit more naturally and can reduce lifting.
Gently Push Back Your Cuticles
Cuticle prep helps your press-ons sit closer to the base of the nail for a more natural look. It also gives the adhesive more clean nail surface to grip.
Use a cuticle stick to gently push back the cuticle area before application. You do not need to cut your cuticles or push aggressively. The goal is simply to tidy the nail plate.
This step can help:
- Create a cleaner nail surface
- Improve placement near the cuticle
- Reduce gaps at the base
- Make the manicure look more natural
- Help prevent early lifting
If your cuticles are dry or irritated, be gentle. Press-on nails look best when the skin around your nails is healthy, but you do not want to create tenderness before application.
Lightly Buff the Nail Surface
A light buff gives the adhesive a little texture to grip. The key word is light.
You are not trying to thin your natural nail or file away layers. You are simply removing shine and creating a slightly rougher surface so the sticky tab or adhesive can bond better.
After buffing, brush away dust and wipe each nail with an alcohol pad.
Avoid over-buffing if your nails are:
- Thin
- Peeling
- Sensitive
- Recently damaged
- Sore
- Recovering from acrylics, dip, or gel
If your nails already feel weak, keep buffing minimal and choose a gentler, shorter-wear adhesive option.
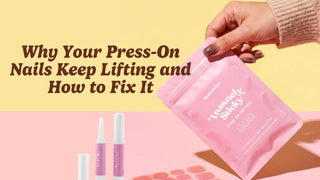
Use the Right Sticky Tabs for Your Wear Goal
Not every press-on manicure needs the same adhesive. If you only need nails for one event, regular sticky tabs may be enough. If you want longer wear, a stronger tab can make more sense.
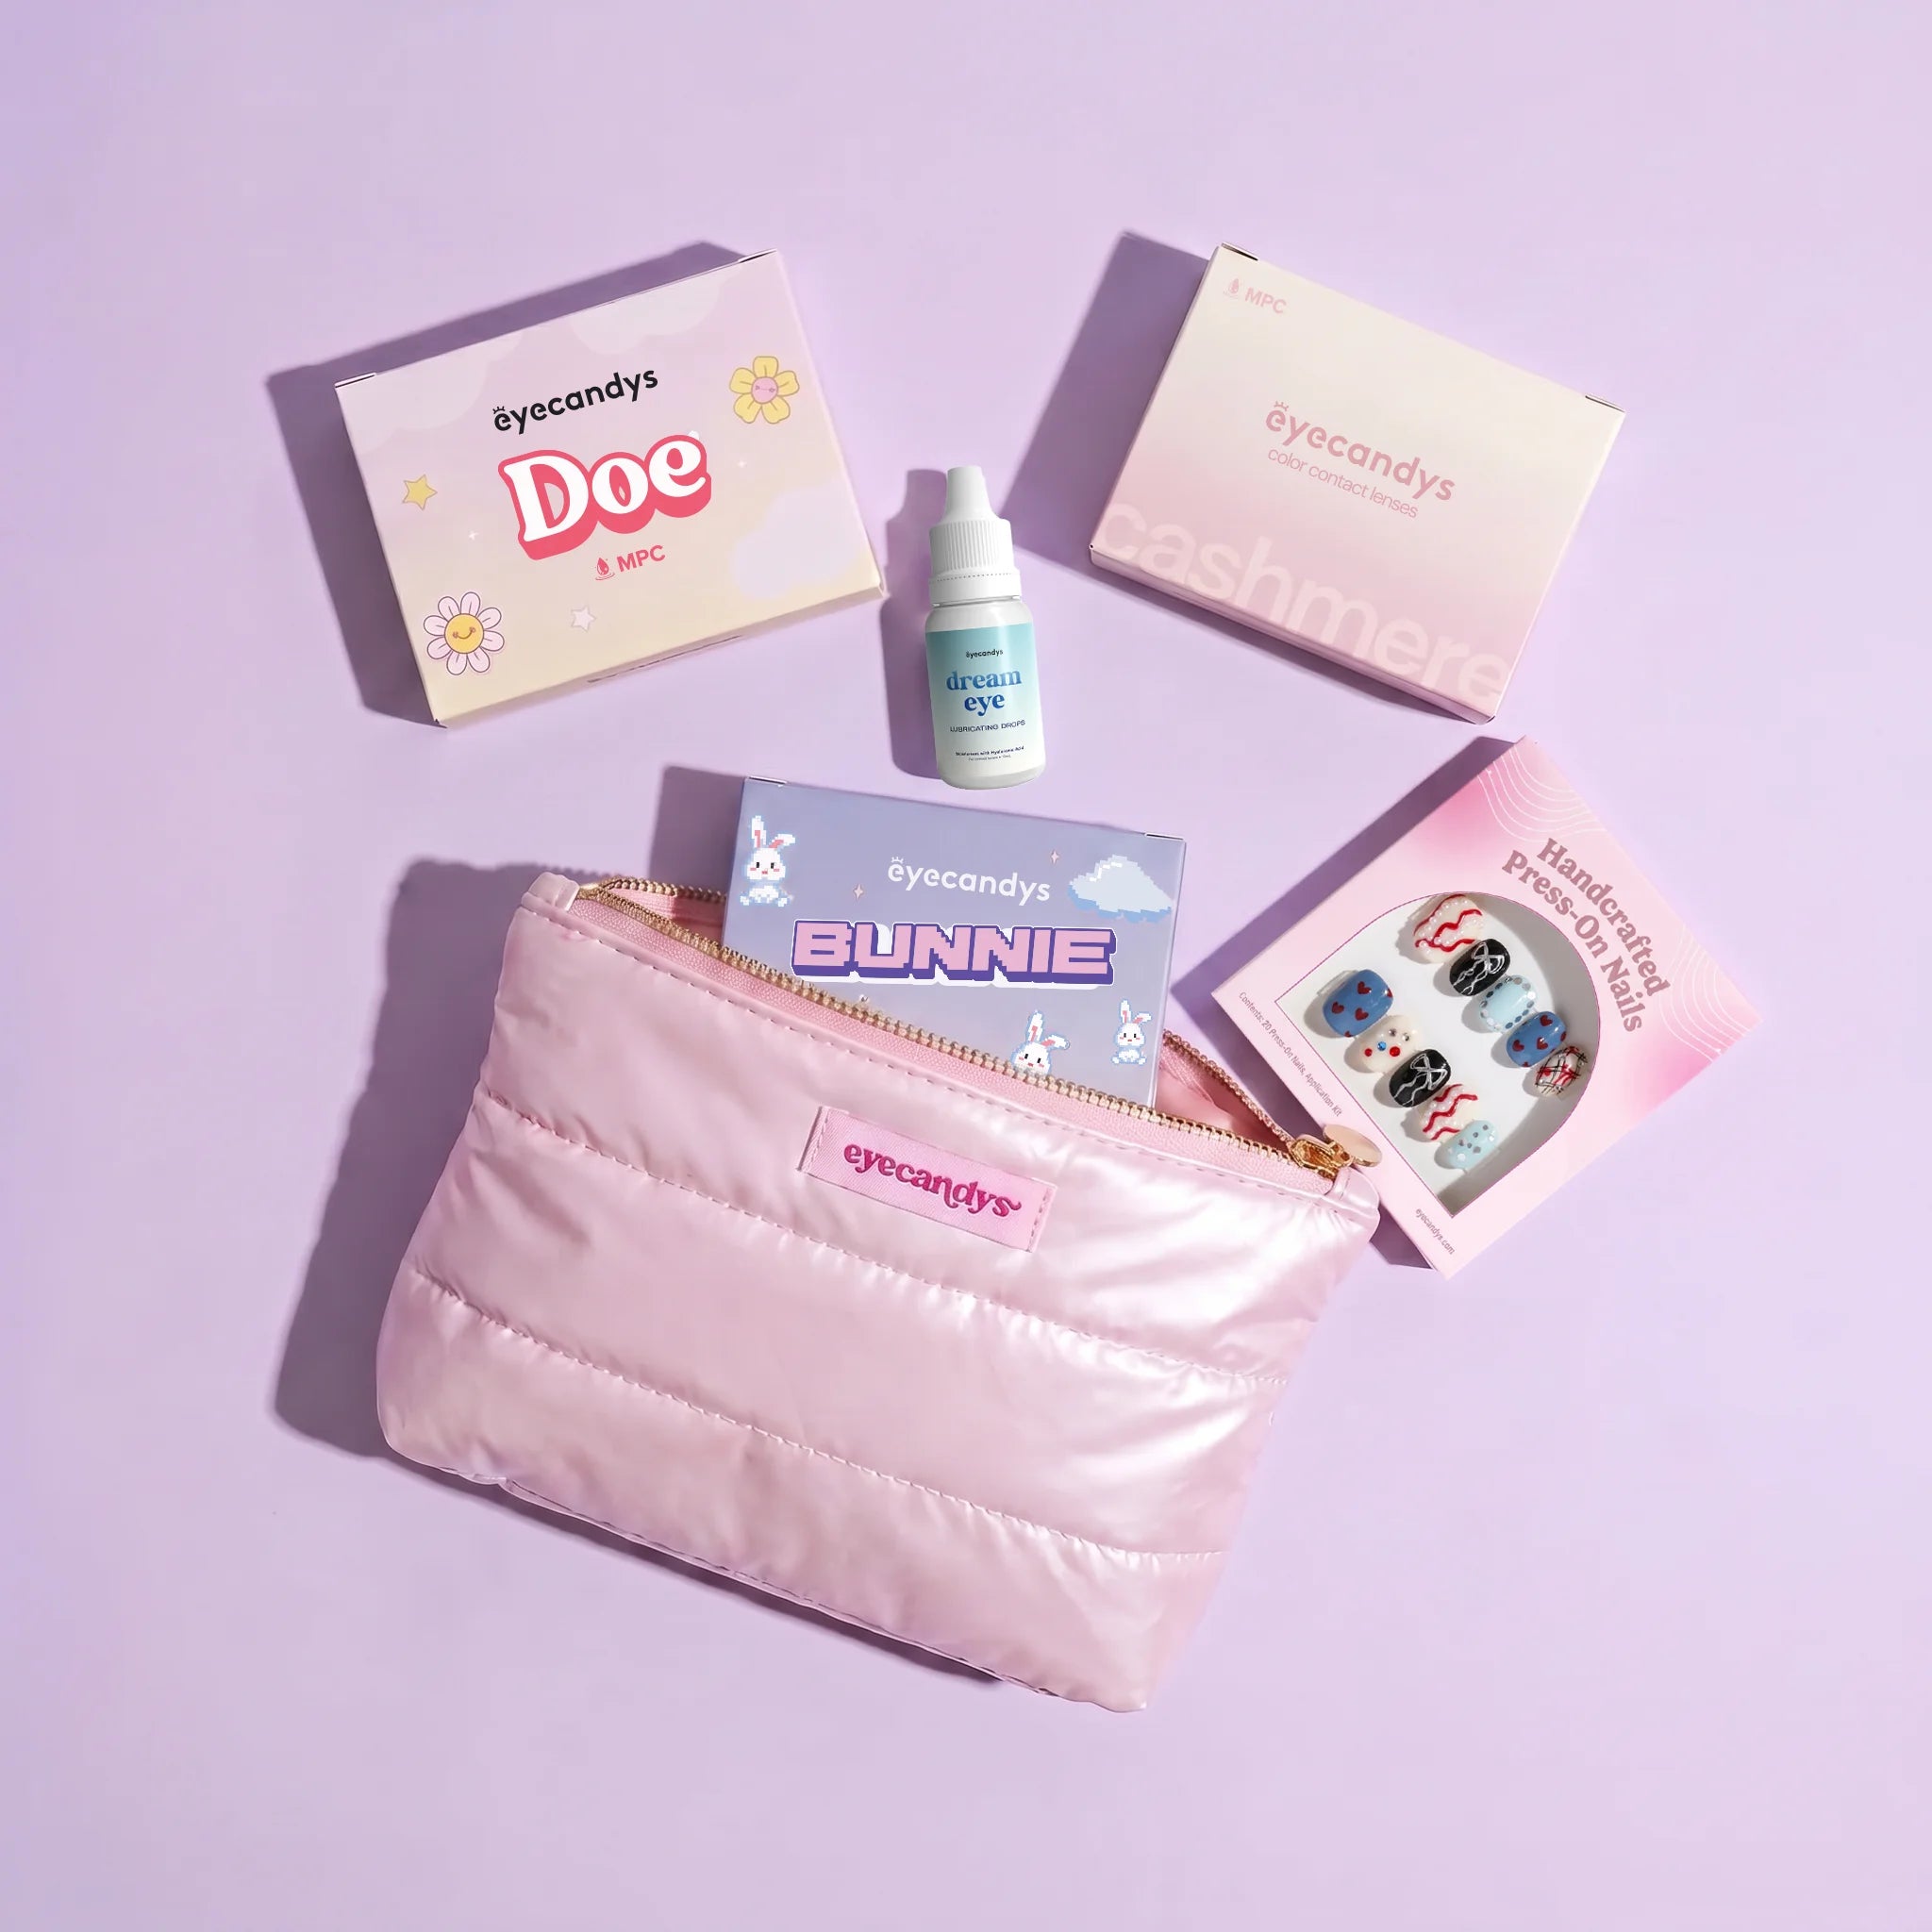
EyeCandys press-on nail sets include regular sticky tabs designed for around 3 days or single-event wear. Each set also includes 20 nails, a cuticle stick, an alcohol wipe, and a nail file.
For longer wear, EyeCandys’ Insanely Sticky Tabs are designed as high-adhesion, waterproof nail tabs with up to 10 days of hold. They are also described as ultra-thin to help nails sit flush and as offering damage-free removal.
A simple way to choose:
- For one night: regular sticky tabs
- For a single event: regular sticky tabs
- For a weekend: regular tabs or Insanely Sticky Tabs
- For longer wear: Insanely Sticky Tabs
- For easy removal: sticky tabs
- For reuse: sticky tabs are usually the better choice
Choosing the right adhesive helps your nails last as long as you actually need them to, without making removal harder than necessary.
Apply Sticky Tabs Properly
Sticky tabs work best when they are placed carefully. If the tab is crooked, wrinkled, touching skin, or not pressed down firmly, your press-on may lift sooner.
Apply the sticky tab to your natural nail, not your skin. Smooth it down so there are no bubbles or wrinkles. Then peel off the backing before placing the press-on nail.
Sticky tab tips:
- Choose the right tab size for each nail
- Apply the tab to the natural nail
- Smooth the tab down firmly
- Avoid touching the sticky surface
- Do not let the tab overlap the skin
- Press out air bubbles before applying the nail
- Work one nail at a time for better control
For Insanely Sticky Tabs, EyeCandys recommends prepping nails by trimming, filing the surface until slightly rough, and wiping with alcohol before applying the sticky tab.
The cleaner the tab placement, the better the press-on will sit.
Leave a 1 mm Gap From the Cuticle
This tiny detail matters.
EyeCandys recommends applying the sticky tab to your natural nail while leaving a 1 mm gap from the cuticle. The tab should not touch your skin.
Why? If adhesive touches the cuticle or surrounding skin, it can lift faster as your skin moves. It can also make the manicure feel less comfortable and less natural.
Leaving a small gap helps the adhesive stay on the nail plate, where it belongs. Then, when you place the press-on nail correctly near the cuticle, the finished manicure still looks clean and close-fitting.
Think of it as giving the adhesive just enough room to grip without getting pushed up by the skin.
Apply the Press-On at a 45-Degree Angle
Application angle can also affect how long your press-ons last.
Instead of placing the nail flat straight down, hold the press-on at about a 45-degree angle. Start near the cuticle area, then lower the nail toward the tip and press flat.
This helps:
- Reduce trapped air bubbles
- Improve cuticle placement
- Create a smoother fit
- Help the nail sit flush
- Make the manicure look more natural
- Strengthen the adhesive bond
EyeCandys’ Insanely Sticky Tabs instructions recommend placing the press-on nail at a 45-degree angle, pushing the base firmly toward the cuticle, then pressing flat.
Once the nail is placed, press firmly and hold. For Insanely Sticky Tabs, EyeCandys recommends holding firmly for 10 to 15 seconds.
Press and Hold Each Nail
Pressing matters. If you place the nail and move on too quickly, the adhesive may not bond evenly.
After placing each press-on, press down firmly across the whole nail. Focus on the center, sides, base, and tip. Hold the nail in place so the adhesive has time to grip.
For best results:
- Press from cuticle to tip
- Apply firm, even pressure
- Press the sides gently
- Hold each nail before moving on
- Avoid shifting the nail once placed
If you notice an air bubble, gently press it out right away. Air pockets can weaken the hold and make lifting more likely.
Apply Thumbs Last
This is a small pro tip that makes application easier.
Your thumbs help you peel sticky tab backings, hold press-ons, press nails into place, and adjust the set. If you apply your thumbs first, the rest of the process can feel clumsy.
Apply nails in this order:
- Pinky
- Ring finger
- Middle finger
- Index finger
- Thumbs last
This makes the application process smoother and helps you avoid bumping freshly applied thumb nails while finishing the rest of your set.
Avoid Water After Application
Water is one of the biggest reasons press-ons lift too soon, especially right after application.
EyeCandys recommends avoiding water for the first 4 hours after applying Insanely Sticky Tabs.
This gives the adhesive time to set. If you wash dishes, take a long shower, swim, soak in a bath, or use hot water too soon, the bond may weaken before it has fully settled.
For longer wear:
- Apply nails after showering
- Avoid washing dishes right after application
- Skip soaking your hands
- Avoid swimming immediately after applying
- Wear gloves for cleaning
- Keep hands dry during the first few hours
This does not mean you can never get your hands wet. It just means the first few hours matter most.
Be Gentle With Your Hands While Wearing Press-Ons
Press-on nails can be durable, but they are still nails. Treat them with a little care if you want them to last.
Avoid using your nails as tools. That means no prying open cans, scraping labels, picking at packaging, or using the tip of the nail to open things. Use your fingertips or an actual tool instead.
To protect your manicure:
- Wear gloves when washing dishes
- Be careful with zippers and buttons
- Use your knuckle to open cans
- Avoid picking at the edges
- Do not test whether the nail is loose
- Be gentle when styling hair
- Use caution when applying skincare or oils
If one nail feels slightly loose, press it down gently and avoid pulling at it. Picking at lifted edges can make the issue worse.
Keep Oils Away From the Nail Edge
Cuticle oil is great for nail health, but timing matters when you are wearing press-ons.
Right before application, avoid oil completely. After your nails are fully applied and the adhesive has set, you can use cuticle oil carefully around the skin. Just avoid flooding the edges of the press-ons.
Too much oil near the adhesive can make lifting more likely.
A good approach:
- Use cuticle oil regularly between manicures
- Avoid oil before application
- Let adhesive fully set first
- Apply small amounts around the cuticle
- Keep oil away from lifted edges
This gives your cuticles the care they need without weakening your manicure too soon.
How to Fix a Press-On Nail That Starts Lifting
If one press-on starts to lift, do not panic and do not pull it off.
First, check whether it is only slightly loose or fully ready to come off. If it is barely lifting and you want to keep wearing the set, you may be able to gently press it back down if the adhesive is still tacky. If it is very loose, it may be better to remove and reapply with a fresh sticky tab.
If a nail lifts:
- Do not pick at it
- Do not pry from the tip
- Gently press it back down if possible
- Replace the sticky tab if needed
- Clean and dry the nail before reapplying
- Keep backup tabs with you for events or travel
If you are out for the night, an extra sticky tab in your bag can save the manicure.
Remove and Store Press-Ons Properly for Reuse
Making press-ons last longer is not only about the first wear. If your press-ons are reusable, proper removal and storage help you get more from each set.
EyeCandys’ removal guidance recommends soaking nails in warm, soapy water for 10 to 15 minutes to loosen the adhesive. Then use a cuticle stick to gently lift the side edges, working inward slowly and never prying from the tip.
After removal, wipe residual glue with an alcohol pad and store the press-ons in the display box for reuse.
To protect reusable press-ons:
- Remove gently
- Never rip them off
- Clean leftover adhesive
- Let them dry completely
- Store them in the display box
- Keep them away from heat and moisture
- Avoid tossing them loose in a bag
EyeCandys’ salon gel press-ons are designed to be removed, stored, and reapplied up to 4 times without losing shape or finish when cared for properly.
Common Reasons Press-On Nails Do Not Last
If your press-ons are lifting early, one of these common issues may be the reason.
Your nails were not clean enough.
Even a little oil, lotion, or dust can affect adhesion.
The press-on was too big.
If it overlaps the skin, it may lift faster.
The sticky tab touched the cuticle.
Adhesive should stay on the nail, not the skin.
You skipped the alcohol wipe.
The alcohol wipe helps remove residue before application.
You got your hands wet too soon.
Water can weaken the adhesive before it sets.
You did not press long enough.
Each nail needs firm pressure after placement.
You used the wrong adhesive for your plans.
A one-night tab may not be enough for a full week of wear.
You used your nails as tools.
Press-ons can lift or pop off if they are used to pry, scrape, or open things.
Quick Checklist for Longer-Lasting Press-On Nails
Before applying:
- Remove old polish
- Wash and dry hands
- Push back cuticles gently
- Lightly buff the nail surface
- Wipe with alcohol
- Choose the correct nail size
- Select the right adhesive for your wear goal
During application:
- Apply sticky tab to the natural nail
- Leave a 1 mm gap from the cuticle
- Keep adhesive off the skin
- Place nail at a 45-degree angle
- Press firmly and hold
- Apply thumbs last
After application:
- Avoid water for the first few hours
- Wear gloves for cleaning
- Do not use nails as tools
- Avoid picking at edges
- Keep backup tabs nearby
- Remove gently when ready
- Store reusable nails properly
Final Takeaway: Longer Wear Starts Before You Apply
If you want your press-on nails to last longer, start with better prep. Clean, dry, oil-free nails, correct sizing, careful sticky tab placement, and firm pressure during application all help create a stronger hold.
For short-term wear, regular sticky tabs are a great choice. For longer wear, EyeCandys Insanely Sticky Tabs offer a high-adhesion, waterproof option designed for up to 10 days of hold with a thin, natural-looking fit and damage-free removal.
Once your set is on, avoid water right away, be gentle with your hands, and never use your nails as tools. When it is time to remove them, soak gently, lift from the side, clean them carefully, and store them for your next manicure moment.
With the right routine, EyeCandys handmade press-on nails can look polished, feel secure, and fit beautifully into your schedule.
Salon-Worthy Nails in Minutes
EyeCandys handmade press-on nails snap on, last for days, and come off without damaging your natural nails. The polished manicure your schedule actually fits.