

Dip nails and acrylic nails are loved for their durability, but that same staying power can make removal tricky. When your nails start growing out, lifting, or feeling uncomfortable, it can be tempting to pick at the edges and pull them off yourself. But peeling, prying, or forcing nail enhancements off can damage the natural nail underneath and leave your nails feeling thin, weak, or brittle.
The safest option is usually professional removal, especially for acrylics or any set that feels painful, damaged, or difficult to remove. But if you need to remove dip nails or acrylic nails at home, the key is patience. You want to soften the product first, remove it gently, and give your nails plenty of care afterward.
Dip Nails vs. Acrylic Nails: What’s the Difference?
Dip powder and acrylic nails are not exactly the same, even though both are long-lasting nail enhancements.
Dip nails are created by layering a bonding liquid with colored powder, then sealing the manicure with a top coat. They are strong, glossy, and usually easier to soak off than acrylics when removed correctly.
Acrylic nails are made with a liquid monomer and powder polymer that harden into a durable extension or overlay. Acrylics are often thicker and more structured than dip powder, which means they can take longer to remove and may require more careful filing before soaking.
The removal process is similar for both: file, soak, gently remove, and hydrate. The main difference is that acrylics often take more time and more patience. Cleveland Clinic notes that removing acrylics can damage or remove the top layer of the nail, which can leave nails weak or brittle as they grow out. (Cleveland Clinic)
Can You Remove Dip and Acrylic Nails at Home?
Yes, but with caution.
At-home removal is best when your nails feel healthy, the enhancement is not causing pain, and you have the right tools. If your nails are extremely thick, lifting badly, painful, cracked, bleeding, or infected-looking, it is better to see a professional.
You should not try to force off dip or acrylic nails at home if you notice:
- Pain or throbbing
- Redness or swelling around the nail
- Green, yellow, or dark discoloration
- Bleeding
- The natural nail lifting from the nail bed
- A crack that goes into the natural nail
- Product that will not soften after soaking
- Signs of infection
A professional nail tech can remove the product more safely and help reduce the chance of further damage.
What You’ll Need
Before you begin, set up everything you need. Removal can take time, and once your nails are wrapped or soaking, it is easier to have all supplies ready.
You’ll need:
- 100% acetone
- Nail clippers
- A coarse nail file
- A gentle buffer
- Cotton balls or cotton pads
- Aluminum foil, nail clips, or plastic wrap
- An orangewood stick or cuticle pusher
- Paper towels
- Cuticle oil
- Hand cream
- A small bowl, if using the bowl soak method
Optional but helpful:
- Petroleum jelly to protect skin
- A warm towel
- A nail dust brush
- A well-ventilated workspace
- A timer
Acetone is drying, but it is also one of the most effective options for removing nail products that are designed to last. The American Academy of Dermatology notes that acetone is effective for at-home gel removal and that picking or filing product off can significantly damage nails. While gel, dip, and acrylic are different products, the same general safety principle applies: soften the product rather than ripping it off. (American Academy of Dermatology)
Start by Shortening the Nails
If your dip or acrylic nails are long, carefully trim them down first. Shorter nails are easier to manage and require less soaking time.
Use nail clippers to cut down excess length, but do not cut too close to your natural nail. If you are removing acrylic extensions, clip only the extended part and avoid cutting into anything that feels connected to your natural nail.
After trimming, file any sharp or uneven edges so they do not snag while you work.
File Down the Top Layer
This step matters. The shiny top coat acts like a seal, so acetone will work better if you break through that surface first.
For dip nails, file off the glossy top coat until the nail surface looks matte. You are not trying to file down to your natural nail. You are only removing the sealed surface so the acetone can reach the product underneath.
For acrylic nails, you may need to file down more bulk before soaking. Acrylic is thicker, so reducing some of the product first can make removal easier. Work slowly and carefully. If you feel heat, pressure, or sensitivity, stop.
A safe filing approach:
- File the shiny top coat first
- Use light, controlled pressure
- Avoid filing into the natural nail
- Stop if the nail feels hot or tender
- Remove dust before soaking
The goal is to help the acetone work, not to grind off the entire enhancement.
Protect the Skin Around Your Nails
Acetone can dry out your skin, especially around the cuticles and fingertips. Before soaking, apply a small amount of petroleum jelly around the skin surrounding each nail.
Try not to get it on the nail surface, because you still want acetone to reach the dip or acrylic product.
This step is optional, but it can help reduce dryness and irritation during removal.
Soak the Nails With Acetone
There are two main ways to soak off dip and acrylic nails at home: the foil method and the bowl method.
For the foil method, soak cotton balls or cotton pads in acetone, place one on each nail, and wrap each fingertip with foil, nail clips, or plastic wrap. Let the nails soak, then check one nail at a time.
For the bowl method, pour acetone into a small glass or ceramic bowl and place your fingertips in the acetone. This can work, but it exposes more skin to acetone and can feel more drying.
The foil method is usually neater and more targeted. It keeps the acetone focused on the nail product while limiting some skin exposure.
How Long Should You Soak Dip Nails?
Dip nails usually need about 10 to 20 minutes of soaking, depending on the thickness of the manicure and how much of the top coat was filed off.
After soaking, the dip powder should look softened, flaky, or gummy. If it still feels hard or firmly attached, rewrap and soak longer.
Do not scrape harder just because you are impatient. If the product is not moving easily, it is not ready.
How Long Should You Soak Acrylic Nails?
Acrylic nails usually take longer than dip powder. Plan for 20 to 40 minutes or more, depending on thickness.
You may need to soak, gently remove softened product, then soak again. Acrylic often comes off in stages rather than all at once.
This is where patience makes the biggest difference. Acrylic removal can damage the nail if you rush, pry, or dig into the natural nail. Dermatologists caution that artificial nails can contribute to brittle, peeling, or cracking nails, and careful removal is an important part of reducing damage. (American Academy of Dermatology)
Gently Push Away the Softened Product
Once the dip or acrylic has softened, use an orangewood stick or gentle cuticle pusher to remove it.
Work from the cuticle area toward the tip of the nail using light pressure. The product should flake, slide, or crumble away. If it does not, soak again.
Do not use force. Do not dig into the nail. Do not pry up stubborn sections.
A good rule: if you have to fight it, it needs more soaking.
Repeat the Soak If Needed
It is normal to repeat the process, especially with acrylic nails.
After the first soak, some product may come off while some remains attached. Instead of scraping harder, reapply acetone-soaked cotton or return your fingertips to the bowl and soak again.
You may need more than one round if:
- The acrylic is thick
- The dip powder has multiple layers
- The top coat was not filed enough
- The product was applied heavily
- The nails have embellishments or extra designs
Slow removal is safer than fast removal.
Buff Lightly After Removal
Once most of the product is gone, gently buff away any leftover residue. Keep this step light.
Your natural nails may feel dry after acetone, so aggressive buffing can make them feel thinner or more sensitive. You are only smoothing the surface, not trying to make the nail look perfect.
If residue remains but the nail feels tender, stop and give your nails a break.
Wash, Moisturize, and Rehydrate
After removal, wash your hands with gentle soap and warm water to remove acetone residue. Then immediately apply cuticle oil and a rich hand cream.
Acetone can leave the nail area dry, so aftercare is not optional. Mayo Clinic recommends moisturizing nails and cuticles as part of healthy nail care. (SELF)
Post-removal care should include:
- Washing hands gently
- Applying cuticle oil
- Using a rich hand cream
- Keeping nails short if they feel weak
- Avoiding harsh products for a few days
- Wearing gloves when cleaning or washing dishes
- Not picking at peeling areas
If your nails feel thin, bendy, or sore, give them time before applying another long-wear nail enhancement.
What Not to Do When Removing Dip or Acrylic Nails
Most nail damage happens when removal is rushed.
Avoid these common mistakes:
- Do not peel the product off
- Do not pry up lifted edges
- Do not use your teeth
- Do not dig under the product with metal tools
- Do not over-file the natural nail
- Do not force off acrylic that has not softened
- Do not skip moisturizing afterward
- Do not immediately apply another harsh manicure if nails feel weak
Peeling or forcing off enhancements can remove layers of the natural nail. That damage has to grow out over time, which is why nails may feel weak long after a rushed removal.
Can You Remove Dip or Acrylic Nails Without Acetone?
For most dip and acrylic nails, acetone is the most reliable at-home option. Alternatives like warm water, oil, soap, or dental floss may appear in online tips, but they are usually less effective and can encourage pulling or prying.
If a method requires force, it is not a safe removal method.
Warm water and oil may help loosen some press-on nails or temporary adhesives, but dip powder and acrylic are designed differently. They usually need acetone and time.
How to Care for Nails After Removing Dip or Acrylics
Once the product is off, your nails may need a little recovery time. This is especially true if you had acrylics, wore enhancements for a long time, or accidentally peeled or over-filed during removal.
Keep your nails short and gently shaped while they grow out. Apply cuticle oil daily, moisturize often, and avoid using your nails as tools.
If your nails feel weak after removal:
- Keep them short
- File snags gently
- Use cuticle oil daily
- Apply hand cream after washing
- Wear gloves for cleaning
- Avoid picking or peeling
- Take a break before your next dip or acrylic set
Damage to the nail plate can take time to grow out, so a few days of moisture may help dryness, but deeper thinning or peeling may need weeks or months to fully replace with new growth.
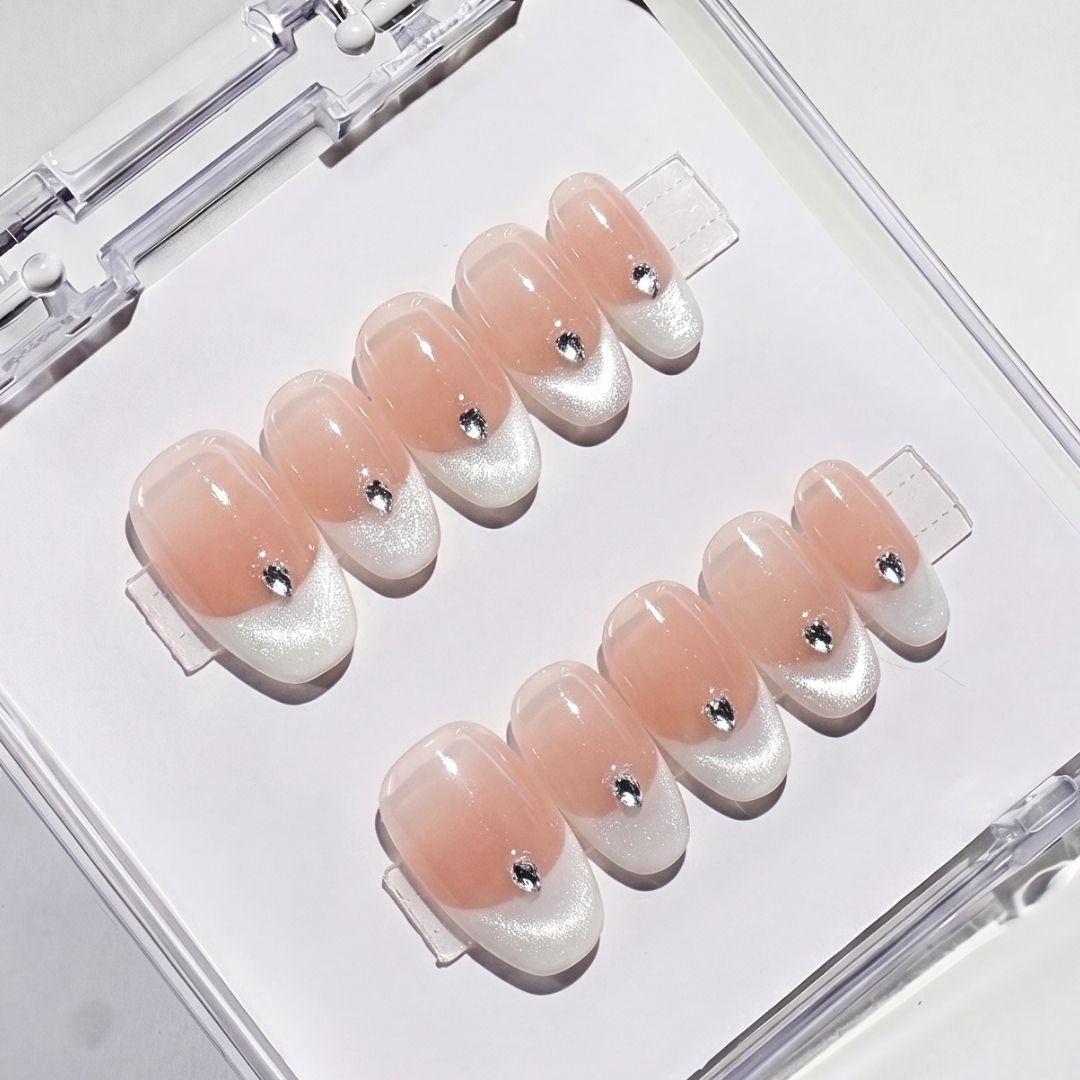
Are Press-On Nails a Good Option After Removal?
Press-on nails can be a great option after removing dip or acrylics, but timing matters.
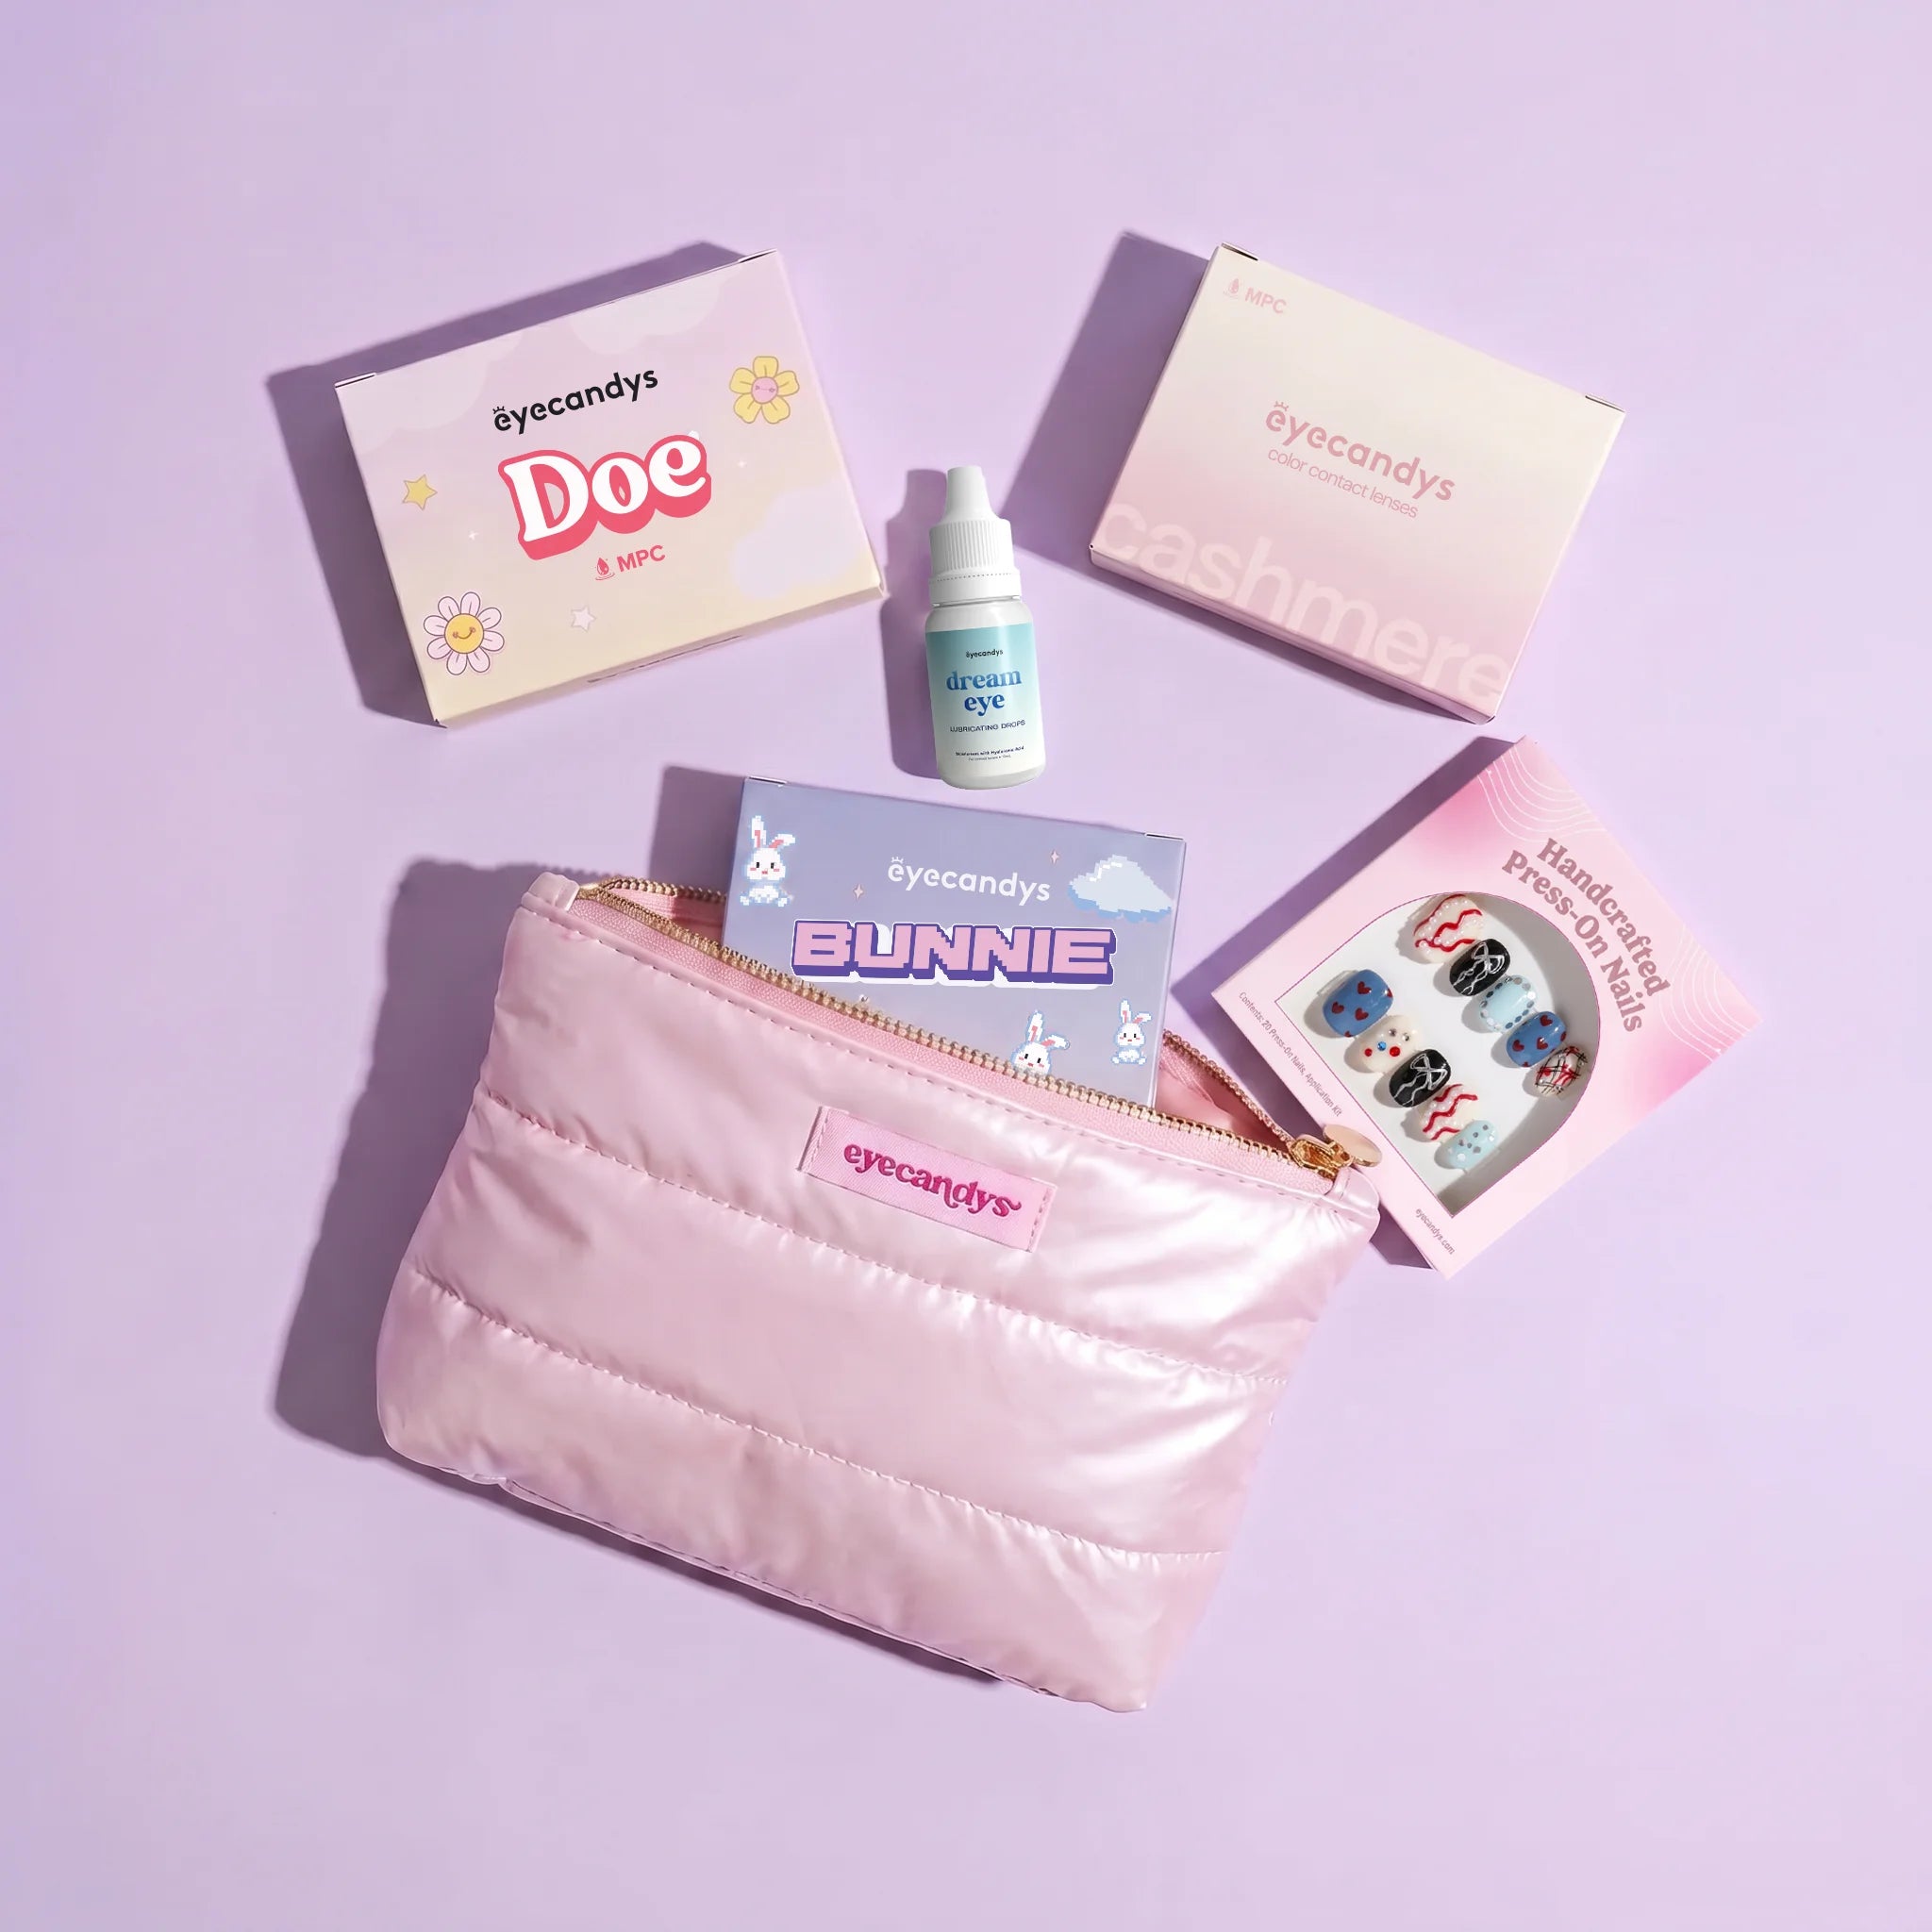
If your natural nails feel healthy, smooth, and comfortable, EyeCandys handmade press-on nails can give you a polished look without booking another salon appointment. They are especially helpful if you want a cute manicure for an event, photoshoot, cosplay look, vacation, or weekend plans.
But if your nails feel sore, thin, painful, or damaged, give them a break first. Press-ons look and wear best when applied to clean, dry, healthy nails.
EyeCandys handmade press-on nails are a good option when you want:
- A lower-commitment manicure
- A polished look at home
- Easy style changes
- Nails for events or cosplay
- A break from salon appointments
- A manicure without polish dry time
Just remember that removal still matters. Even press-on nails should be removed gently according to the instructions.
When to See a Professional
At-home removal is not always the best choice. Sometimes, the safest move is to let a professional handle it.
See a nail professional, dermatologist, or healthcare provider if:
- The nail is painful
- The nail is lifting from the nail bed
- There is redness, swelling, warmth, or pus
- You notice green, yellow, brown, or dark discoloration
- The natural nail is cracked or bleeding
- The product will not soften
- You are unsure what type of enhancement you have
- Your nails are extremely thin or damaged
- You have a recurring nail issue
It is better to get help early than to turn a difficult removal into a damaged nail.
Final Takeaway: Soften, Don’t Force
The safest way to remove dip nails and acrylic nails at home is to take your time. File the top layer, soak with acetone, gently remove only what has softened, and repeat as needed.
Never peel, pry, or force nail enhancements off. That is where most of the damage happens.
Once your dip or acrylics are removed, focus on moisture and recovery. Cuticle oil, hand cream, gentle filing, and a short break can help your nails feel better after removal.
And when your nails are ready for your next manicure, EyeCandys handmade press-on nails make it easy to get a polished, stylish look at home without committing to another dip or acrylic set.
Healthy Feet Deserve Pretty Hands
EyeCandys handmade press-on nails snap on, last for days, and come off without damaging your natural nails. The polished manicure your schedule actually fits.