
Introduction
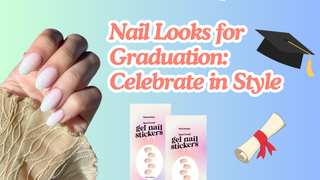
Graduation day is a milestone worth celebrating down to the very tips of your nails. Whether you’re tossing caps, snapping photos with friends, or sipping bubbly at commencement, your manicure should be as on-point as your cap toss. EyeCandys gel stickers make it effortless to achieve salon-worthy nails without the salon price tag. In this guide, we’ll explore five graduation-ready nail looks using EyeCandys gel stickers that let you celebrate in style—no polish disasters, no dry time, just instant glam.
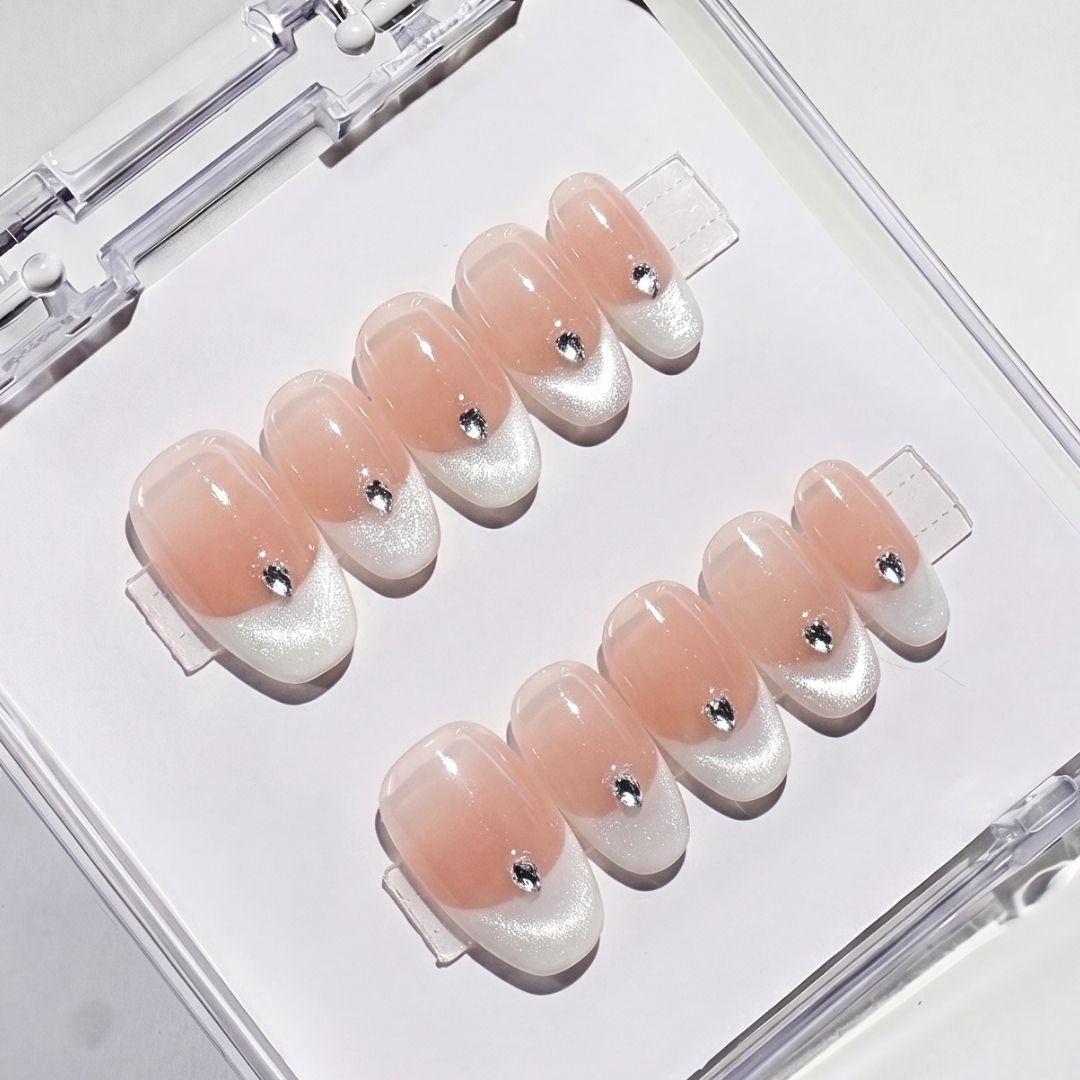
1. Classic French with a Twist
A timeless French manicure gets a fresh update with colored tips or subtle shimmer.
Why it works:
-
Neutral base looks polished and elongates nails.
-
Customizable tip colors let you match your school hues or grad gown.
How to achieve it with EyeCandys:
-
Prep: File nails into a soft square or oval, then buff lightly.
-
Base: Apply a nude or sheer-pink gel sticker as your canvas.
-
Tips: Choose an EyeCandys tip sticker in white, pastel blue, or your school color.
-
Accent: Add a single shimmer strip along the smile line for extra sparkle.
-
Seal: Finish with a clear topcoat (optional) for added shine and longevity.
Pro Tip: If you’re new to stickers, practice aligning the tips on one hand first—it’s easier to correct on your less-dominant hand.
2. School-Color Statement Nails
Show your alma mater pride with custom decals in your school’s palette.
Why it works:
-
Perfect for photo-ops in caps and gowns.
-
Coordinates seamlessly with graduation attire.
How to achieve it with EyeCandys:
-
Prep: Push back cuticles and clean nail beds with rubbing alcohol.
-
Base: Select a solid-color gel sticker—navy, crimson, black, or gold.
-
Accent Nails: On two nails per hand, apply school-logo or stripe-pattern stickers.
-
Embellish: Top with small rhinestone or glitter-dot stickers at the cuticle.
-
Seal: Use a matte topcoat for a modern, velvety finish or glossy for classic shine.
Callout: EyeCandys offers custom color packs—perfect for coordinating exact shades for every graduation season.
3. Glitter Gradient Glam
Shimmering ombré gradients add festive flair without overpowering your look.
Why it works:
-
Reflects light in every photo.
-
Elegant enough for ceremony yet playful for parties.
How to achieve it with EyeCandys:
-
Prep: Ensure nails are oil-free for optimal sticker adhesion.
-
Base: Apply a clear or sheer-white gel sticker.
-
Gradient Layer: Starting at the free edge, place multiple sizes of chunky and fine gold or silver glitter stickers, denser at the tips and sparser toward the cuticle.
-
Blend: Gently press and overlap to soften edges.
-
Seal: Add a glossy topcoat to melt glitter into the surface.
Pro Tip: Use tweezers for precise placement of individual glitter stickers on shorter nails.
4. Minimalist Line Art
Subtle yet sophisticated, line-art designs are perfect for the grad who loves modern elegance.
Why it works:
-
Understated and versatile for any ceremony setting.
-
Compliments both bold and neutral outfits.
How to achieve it with EyeCandys:
-
Prep: Shape nails to almond or coffin for a chic canvas.
-
Base: Choose a pale blush or translucent gel sticker.
-
Artistic Accents: Apply ultra-fine black or metallic line stickers—try abstract shapes, minimalist “X” marks, or tiny stars.
-
Placement: Focus art on one side of each nail for asymmetrical interest.
-
Seal: A matte topcoat transforms line art into a fashion-forward statement.
Callout: EyeCandys’ line-art gel sticker pack includes guides so you can mix and match designs effortlessly.
5. Personalized Name or Year Decals
Celebrate your unique achievement with custom lettering—your name, graduation year, or inspiring word.
Why it works:
-
Makes your manicure a personal statement.
-
Great conversation starter at post-ceremony events.
How to achieve it with EyeCandys:
-
Prep: Smooth nail surface with buffer; remove dust.
-
Base: Select a neutral gel sticker.
-
Lettering: Use the custom decal builder on EyeCandys’ site to create tiny gold, silver, or colored letters.
-
Placement: Center decals on one nail per hand for maximum impact.
-
Seal: Lock decals in with a high-gloss topcoat to prevent lifting.
Pro Tip: Spell out your initials on alternate nails for a coordinated but subtle look.
Conclusion
Your graduation nails should be as memorable as your achievement. With EyeCandys gel stickers, you can create salon-quality nail art in minutes—no mess, no dry time, just flawless style. Ready to celebrate in style? Browse EyeCandys’ gel sticker collection today and find the perfect pack to match your grad vibe. Here’s to the class of 2025—cheers to new beginnings, bright futures, and nails that shine as brightly as your potential!