
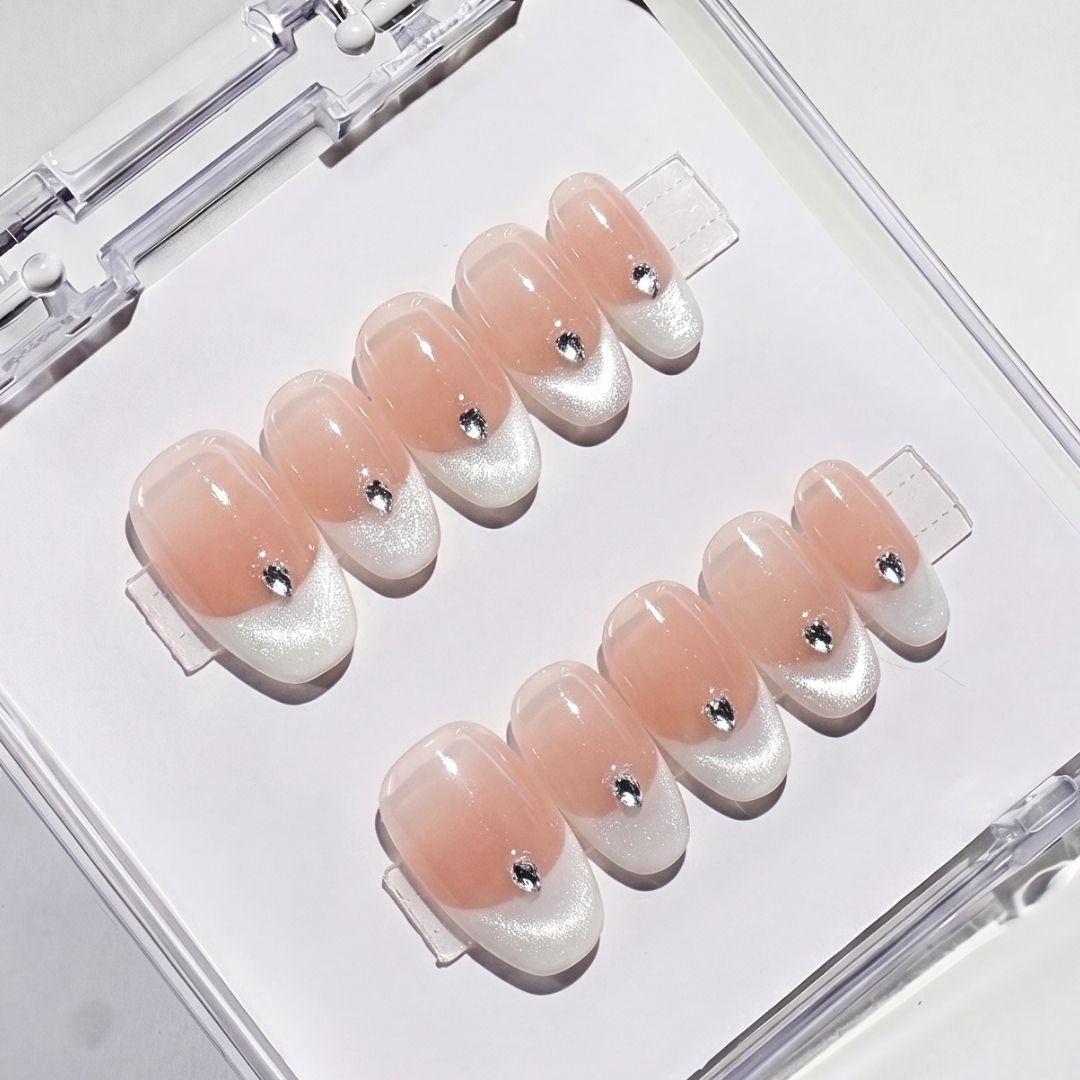
A great press-on manicure starts before you apply the nails. It starts with fit.
When press-on nails fit properly, they look more natural, feel more comfortable, and are less likely to lift around the edges. When they are too big, too small, or sitting on the skin instead of the nail plate, even the prettiest set may not wear the way you want it to.
The good news is that measuring your nails for press-ons is simple. You do not need fancy tools or a salon appointment. With a flexible measuring tape or a small strip of paper, you can measure your natural nails at home and choose a press-on set that fits more comfortably.
Whether you are new to press-ons or ordering handmade press-on nails online for the first time, here is how to measure your nails, compare sizes, and avoid the most common fit mistakes.
Why Press-On Nail Sizing Matters
Sizing is one of the biggest factors in how your press-on nails look and wear.
A press-on nail should cover your natural nail from one sidewall to the other without overlapping onto the surrounding skin. If the nail is too small, it may leave part of your natural nail exposed along the sides. If it is too large, it may sit on the skin, feel bulky, or lift faster.
A properly sized press-on nail should feel secure, smooth, and comfortable. It should follow the natural shape of your nail and sit flat enough that the adhesive can bond evenly.
Good sizing helps with:
Fit matters even more if you want to wear your press-ons for more than one event or reuse them. The better the nail fits, the less stress there is on the press-on during application, wear, and removal.
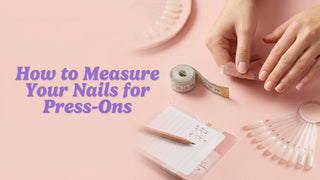
What You Need to Measure Your Nails
You can measure your nails with items you probably already have at home. The easiest option is a soft measuring tape, like the kind used for sewing. If you do not have one, a strip of paper and a ruler will work too.
To measure your nails, you will need:
A flexible measuring tape or a small strip of paper
A pen or pencil
A ruler with millimeters
Clean, bare natural nails
Good lighting
A place to write down each nail measurement
Make sure your nails are bare before measuring. Remove polish, press-ons, or nail products first so you can measure your natural nail accurately. If your nails are covered, the measurement may be slightly off.
Measure the Widest Part of Each Nail
When measuring for press-ons, you are measuring the width of your natural nail, not the length.
The most important measurement is across the widest part of the nail, from one sidewall to the other. This is usually near the middle of the nail, not at the tip.
Your measurements should be taken in millimeters because press-on nail size charts are usually based on millimeter widths.
Measure each nail individually, including both hands. Your left and right hands may not be exactly the same, and that is completely normal. Your thumb, index, middle, ring, and pinky nails may also vary more than you expect.
It helps to write your measurements like this:
Left thumb
Left index
Left middle
Left ring
Left pinky
Right thumb
Right index
Right middle
Right ring
Right pinky
This gives you a clear guide when comparing your nails to a size chart or laying out your press-on set before application.
How to Measure Your Nails With Flexible Tape
A flexible measuring tape is the easiest way to measure your nails because it can curve with the natural shape of your nail bed.
Start with clean, bare nails. Place the measuring tape across the widest part of your natural nail. Make sure the tape starts at one sidewall and reaches the other sidewall without measuring onto the skin.
The tape should follow the curve of your nail, not float above it. Press it gently, but do not stretch or pull it too tightly.
Write down the width in millimeters for each nail.
Repeat this for all ten nails. Even if some fingers look similar, measure them individually. It only takes a few minutes, and it can help you get a better fit.
A few tips for measuring with tape:
Keep the tape straight across the widest part of the nail
Measure from nail edge to nail edge, not skin to skin
Use millimeters for the most accurate comparison
Do not pull the tape too tightly
Measure both hands
Write each measurement down as you go
If your measurement is between two numbers, round to the nearest millimeter and make a note that the nail may be between sizes.
How to Measure Your Nails With Paper
If you do not have flexible measuring tape, you can use a thin strip of paper.
Cut or tear a narrow strip of paper. Place it across the widest part of your nail, from one sidewall to the other. Use a pen or pencil to mark where each side of the nail begins and ends.
Then lay the paper flat against a ruler and measure the distance between the two marks in millimeters.
This method takes a little more time, but it works well if you are careful.
Here is the paper method step by step:
Cut a small strip of paper
Place it across the widest part of your nail
Mark the left and right edges of the nail
Lay the paper flat against a ruler
Measure the distance between the marks in millimeters
Write down the measurement for that nail
Repeat for all ten nails
Try to keep the paper snug against the nail curve when marking. If the paper is lifted or angled, the measurement may be too wide or too narrow.
How to Compare Your Measurements to a Size Chart
Once you have your nail measurements, compare them to the press-on nail size chart.
A size chart will usually list nail sizes by number and width in millimeters. Your goal is to match each natural nail measurement to the closest press-on nail width.
For example, if your natural thumbnail measures 15 mm across, you would look for the press-on size closest to 15 mm. If your ring finger measures 11 mm, you would look for the closest 11 mm press-on.
Do this for each finger, one by one.
Do not assume your nails follow a standard pattern. Many people have one hand that is slightly different from the other, or one nail that does not match the expected size. Measuring all ten nails helps you avoid guessing.
When comparing sizes, remember that the press-on should cover your natural nail from side to side without sitting on your skin. A perfect-looking number on the chart still needs to fit the actual shape of your nail.
What to Do If You Are Between Sizes
Being between sizes is common. Natural nails are not all shaped exactly like press-on nails, so you may find that one size feels slightly too small while the next size feels slightly too wide.
In most cases, if you are between sizes, it is better to choose the slightly smaller nail or gently file the larger nail to fit.
A nail that is too large can overlap the skin, which may cause lifting and discomfort. It can also make the manicure look less natural because the nail may appear too wide for your finger.
A slightly smaller nail may still work if it covers most of the natural nail and feels comfortable. But if it leaves a noticeable gap, you may prefer to customize a slightly larger nail by gently filing the sides.
If you choose the larger size, file very carefully. Remove a tiny amount from each side and check the fit often. The goal is to make the nail sit on your natural nail, not on the surrounding skin.
A good rule is:
If a nail overlaps your skin, it is too big.
If a nail leaves a tiny side gap but feels secure, it may still work.
If a larger nail almost fits, gently file the sides.
If a nail pinches, feels tight, or lifts at the edges, try another size.
Fit should feel comfortable before adhesive is applied.
Why EyeCandys Kits Include Multiple Sizes
EyeCandys press-on nail kits include multiple nail sizes to help you find the best fit for each finger. This is helpful because most people do not have perfectly matching nail beds, and your left and right hands may need slightly different sizes.
Instead of expecting one standard set to fit everyone the same way, having multiple sizes gives you more flexibility during application. You can lay out your nails first, compare each press-on to your natural nail, and choose the size that fits best.
This is especially useful if:
Your nail beds are narrow
Your nail beds are wider
Your thumbs are different sizes
Your ring fingers are not the same on both hands
You are new to press-ons
You want a more natural-looking fit
You plan to reuse your set
Before applying, lay out all ten nails in order. This helps you double-check sizing and makes the application process easier once you start using adhesive.
How to Avoid Nails Overlapping the Skin
One of the most common press-on sizing mistakes is choosing a nail that is too large.
When a press-on overlaps the skin near the sidewalls or cuticle, it may lift sooner because adhesive does not bond the same way to skin as it does to the nail plate. Skin naturally moves and produces oils, which can weaken the hold.
An oversized press-on may also feel uncomfortable. It can press into the skin, catch on hair or clothing, or look bulky around the cuticle area.
To avoid overlapping:
Check the nail from side to side before applying
Make sure the press-on sits on the natural nail only
Look closely at the sidewalls
Avoid choosing a size just because it covers more area
File the sides if the nail is slightly too wide
Choose a smaller size if the larger one touches skin
The press-on should look like an extension of your natural nail, not like it is sitting on top of your finger.
How to Check the Fit Before Applying Adhesive
Always check the fit before applying adhesive.
Place each press-on over your natural nail and gently press it into position without sticky tabs or glue. Look at the sides, cuticle area, and tip. Make sure it sits comfortably and does not overlap the skin.
A well-fitting press-on should:
Cover the natural nail from side to side
Sit comfortably near the cuticle
Avoid touching the skin
Follow the natural curve of the nail
Lie flat enough for adhesive to bond
Look balanced with the rest of the hand
If something feels off, adjust before applying. Once adhesive is involved, sizing mistakes are harder to fix.
This is also a good time to decide if you want to file the sides of any nails. Small adjustments can make a big difference in how natural the final manicure looks.
Should You Measure Length Too?
For most press-on sizing, width matters more than length. Width determines whether the nail fits your nail bed properly.
Length is more about comfort and style. Short nails are usually easier for everyday wear, typing, contact lenses, school, work, and hands-on jobs. Medium nails are a good balance for events and weekends. Long nails are best for bold looks, photos, cosplay, parties, and people who are already comfortable wearing more length.
If you are new to press-ons, start with a shorter or medium length before trying very long shapes. You can still get a polished manicure without choosing a dramatic length right away.
What If Your Nail Beds Are Very Curved or Flat?
Nail curve can affect how press-ons fit.
Some people have flatter nail beds, while others have more curved nails. If a press-on is too curved for your natural nail, it may not sit flush. If it is too flat, it may feel tight or leave gaps.
When testing the fit, look at how the press-on sits from the side. It should not pop up dramatically or press uncomfortably into your nail. Adhesive can help create a secure bond, but it cannot fully fix a press-on shape that does not match your nail curve.
If you have flatter nails, choose styles that feel more flexible or gently adjust the fit when possible. If you have very curved nails, make sure the press-on does not pinch.
Comfort matters. If a nail feels uncomfortable before adhesive, it will probably feel worse after application.
Measuring Tips for a Better Fit
A few small measuring habits can help you get more accurate results.
Measure when your nails are bare and dry. Do not measure after applying oil, lotion, or hand cream because the surface may be slippery. Use good lighting so you can see the true edge of the nail. Measure the widest part of each nail, not the tip. Use millimeters instead of inches for better accuracy.
It also helps to measure twice. If you get different numbers, measure again slowly and write down the most consistent result.
Do not rush the process. Sizing only takes a few minutes, but it can make your press-on manicure look and wear much better.
Common Press-On Sizing Mistakes to Avoid
Press-on sizing mistakes are easy to make, especially if you are new to applying them.
The biggest mistake is choosing a nail that is too large because it seems like it gives more coverage. In reality, oversized nails often lift faster because they overlap the skin.
Another common mistake is only measuring one hand. Your hands may look symmetrical, but the nails can still be slightly different. Measuring both hands gives you a better fit.
It is also common to forget to test the fit before applying adhesive. Always place the nails on your fingers first, check the sides, and make adjustments before starting the application.
Avoid these sizing mistakes:
Choosing nails that overlap the skin
Assuming both hands are the same
Measuring over polish or old product
Measuring skin instead of nail width
Skipping the fit check
Using a nail that feels tight or pinchy
Ignoring sidewall gaps
Filing too much off the sides at once
When in doubt, slow down and check the fit again.
How Sizing Affects Wear Time
Sizing has a direct impact on how long your press-ons last.
When a press-on fits well, adhesive can bond evenly across the nail plate. The nail sits flush, the edges are less likely to catch, and there is less pressure on the sides.
When a press-on is too large, adhesive may touch skin or leave lifted edges. When it is too small, the nail may not have enough contact area for a secure hold. Both situations can lead to early lifting.
Good sizing helps prevent:
Cuticle lifting
Side lifting
Tip lifting
Nails popping off early
Discomfort
Snagging on hair or clothing
Poor reuse
If your press-ons keep lifting even when you prep well, sizing may be the issue.
How to Size Press-Ons for Reuse
If you want to reuse your press-on nails, sizing becomes even more important.
A well-fitting nail is less likely to bend, pop off, or get damaged during wear. It is also easier to remove gently and store for next time.
If a nail is too large and keeps lifting, you may be tempted to pull at it, which can damage both your natural nail and the press-on. If a nail fits well, removal is usually smoother because the set is not constantly catching or peeling at the edges.
To help preserve reusable press-ons:
- Choose the best fit before applying
- Avoid oversized nails
- Use sticky tabs when reuse is your goal
- Remove gently with warm, soapy water
- Clean adhesive residue carefully
- Store each nail in its proper place
A good fit helps your press-ons become part of your beauty routine instead of a one-time experiment.
Final Takeaway: Better Sizing Means a Better Press-On Manicure
Measuring your nails for press-ons is one of the easiest ways to get a better manicure at home. It helps your nails look more natural, feel more comfortable, and last longer.
Use flexible tape or a strip of paper to measure the widest part of each natural nail in millimeters. Compare your measurements to the size chart, check the fit before applying adhesive, and avoid any press-on that overlaps onto the skin.
If you are between sizes, choose the option that sits most comfortably on your natural nail. A slightly smaller nail or a gently filed larger nail is usually better than one that touches the skin and lifts.
EyeCandys handmade press-on nail kits include multiple sizes so you can find a better fit for each finger. Take a few minutes to measure, match, and prep before applying, and your manicure will look more polished from the start.
Measure Once, Wear It Better
EyeCandys handmade press-on nails come in multiple sizes so you can match each finger for a fit that looks natural and lasts longer.