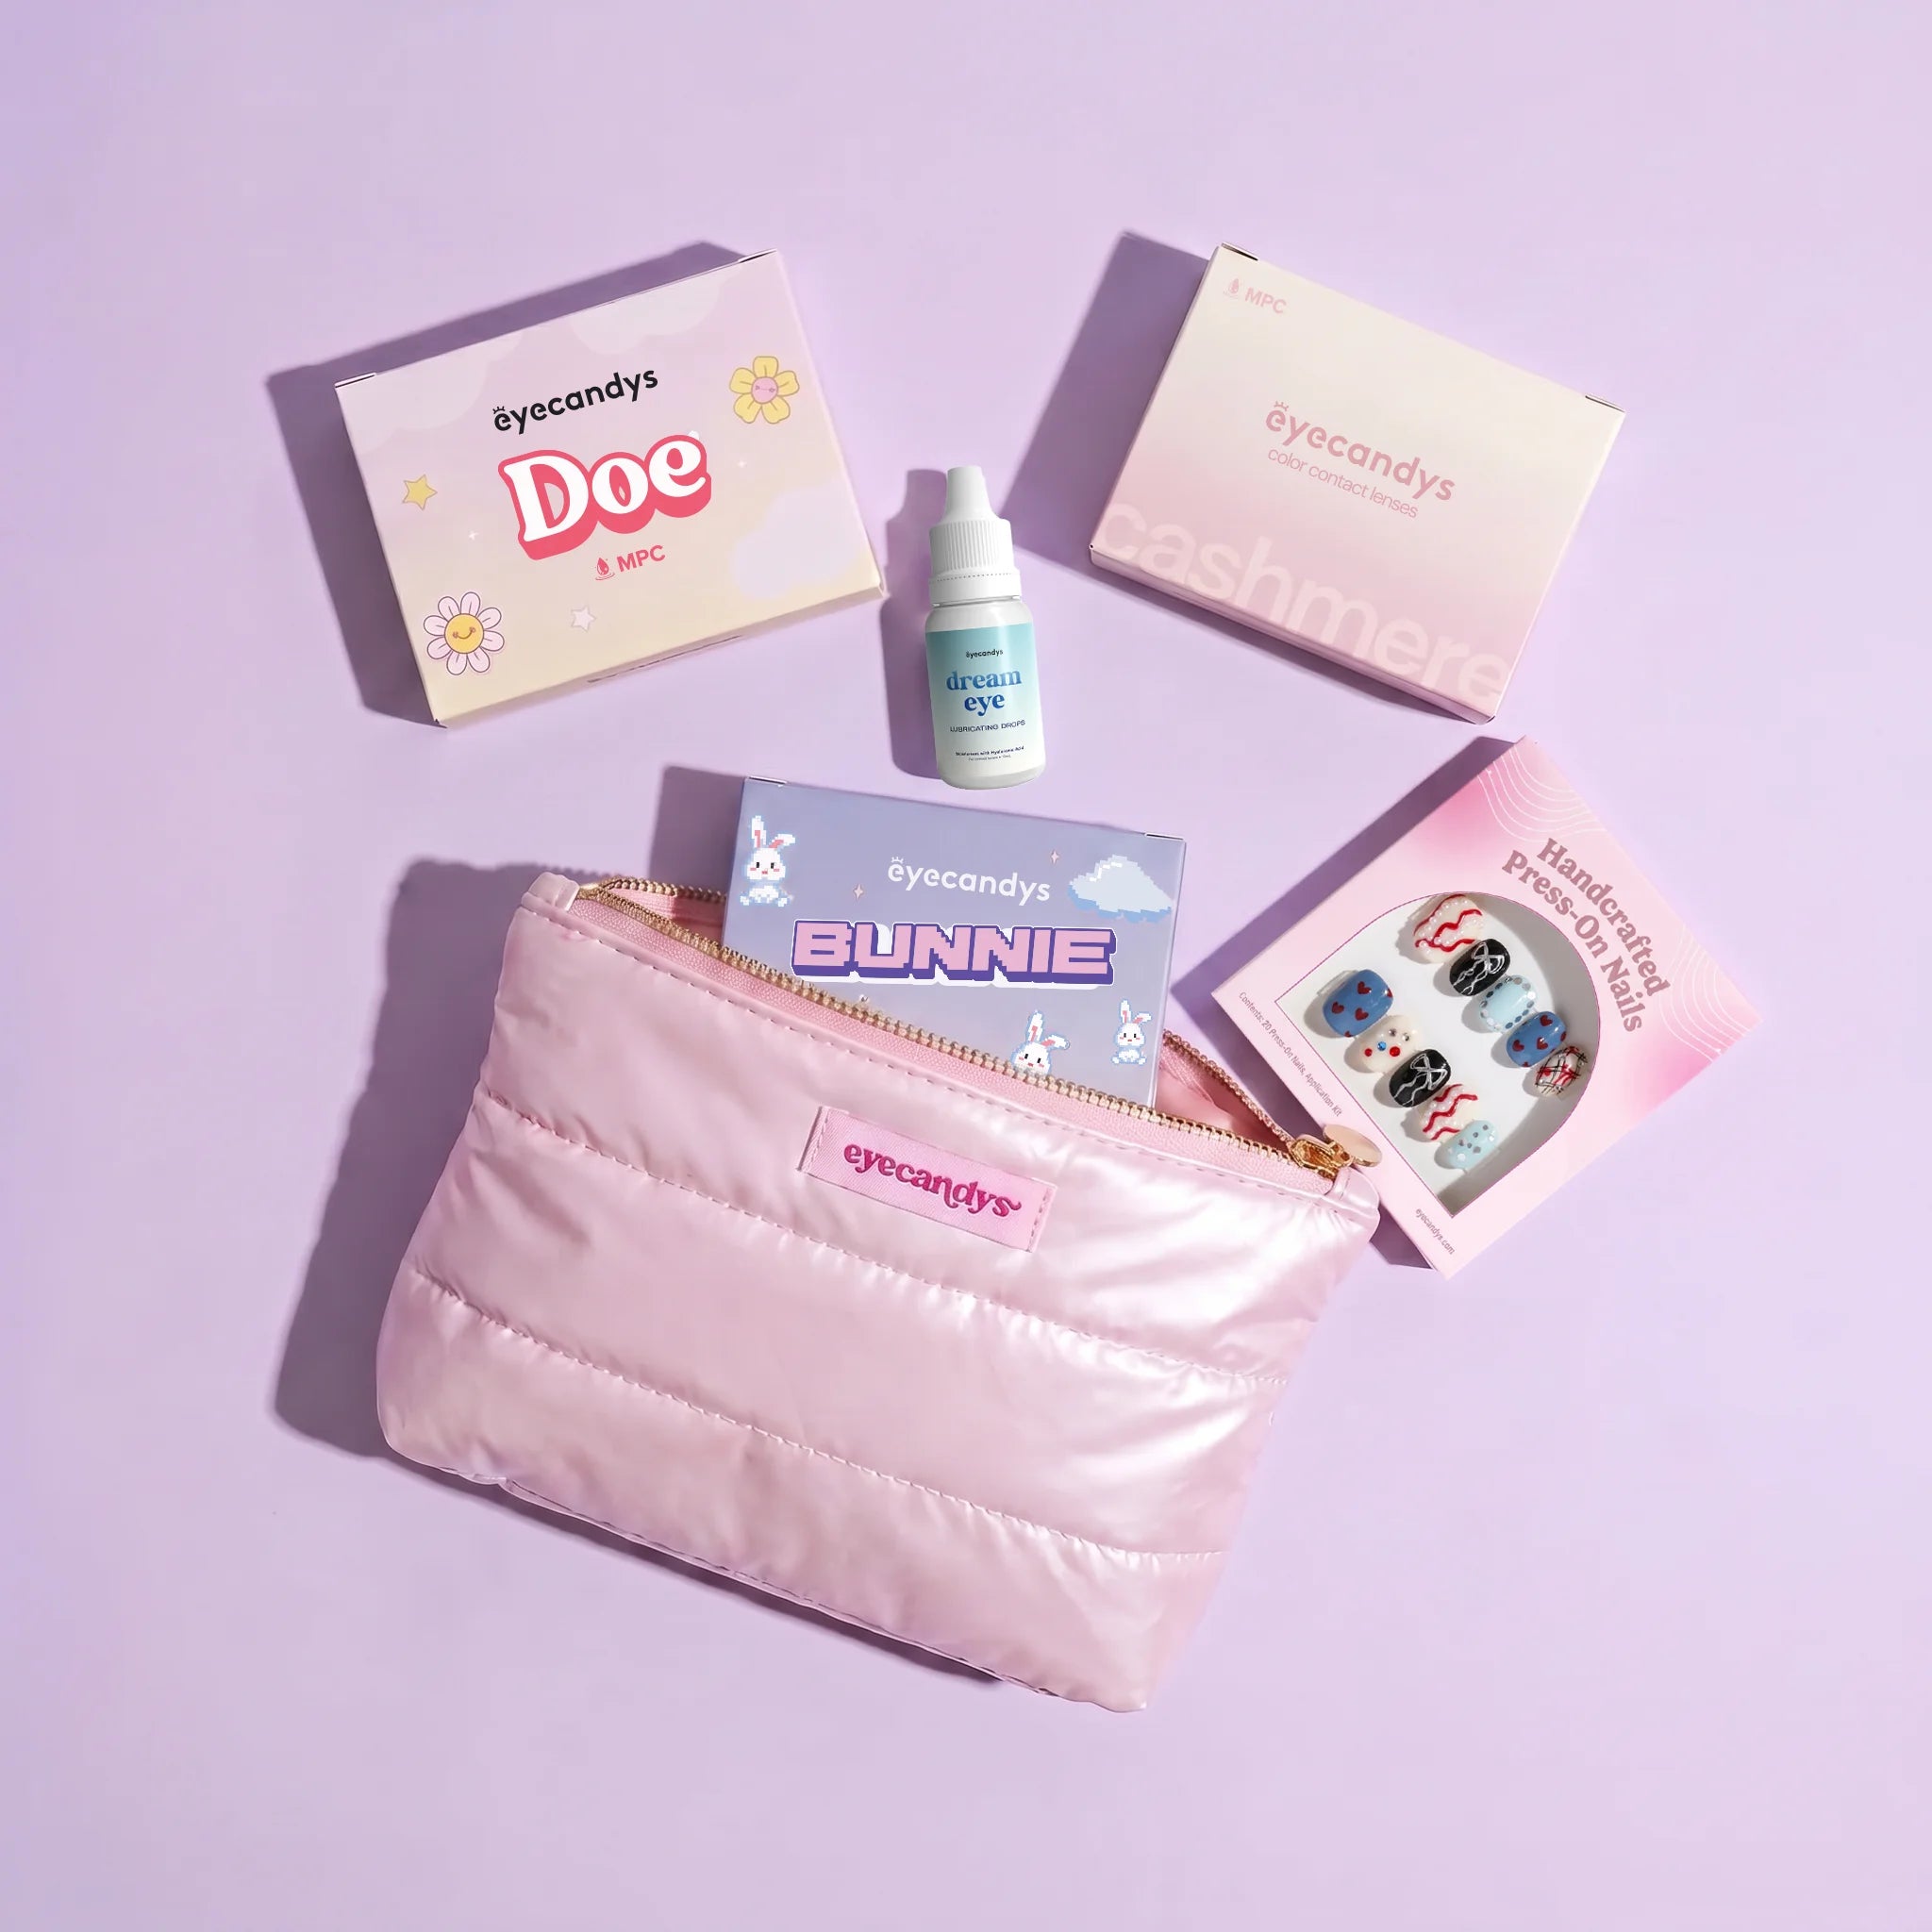


Press-on nails are one of the easiest ways to get a polished manicure at home, but how you remove them matters just as much as how you apply them.
When press-ons are removed properly, they can be a low-commitment, flexible beauty option that lets you switch up your look for work, weekends, events, cosplay, travel, or a last-minute night out. But if you peel, pry, or force them off, you can damage the surface of your natural nails and leave them feeling thin, rough, or weak.
The good news is that safe press-on nail removal is simple. You just need warm water, patience, and a gentle touch.
Here’s how to remove press-on nails without damaging your natural nails.
Why Safe Press-On Nail Removal Matters
Press-on nails are designed to give you a styled manicure without the time commitment of a salon appointment. But even the best press-ons can cause damage if they are pulled off too aggressively.
Your natural nails are made of layers. When you rip off a press-on nail, especially one that is still strongly attached, you may accidentally pull up some of those layers with it. That can leave your nails feeling rough, bendy, dry, or sensitive.
Safe removal helps protect your natural nails so you can enjoy press-ons again later. It also helps preserve reusable press-on sets, especially if you want to clean and store them for another wear.
EyeCandys’ removal guidance recommends soaking press-on nails in warm, soapy water for 10 to 15 minutes, gently lifting the side edges with a cuticle stick, working inward slowly, and never prying from the tip.
What You’ll Need to Remove Press-On Nails
Before you start, gather your supplies so you do not have to search for anything once your nails are soaking.
You’ll need:
- A bowl of warm water
- Gentle hand soap
- A cuticle stick
- A soft towel
- Cuticle oil
- Hand cream
- An alcohol wipe, if cleaning leftover residue
- Your press-on nail storage box, if you plan to reuse the set
Avoid using sharp tools, metal tools, or anything that encourages you to dig under the nail. The goal is to loosen the adhesive gently, not scrape your natural nail.
Step One: Soak Nails in Warm, Soapy Water
Start by filling a small bowl with warm water and a little gentle soap. The water should be comfortably warm, not hot.
Place your fingertips in the bowl and let your nails soak for 10 to 15 minutes. This helps soften the adhesive so the press-ons can begin to loosen.
If you are using EyeCandys Insanely Sticky Tabs, the brand’s guidance recommends soaking nails in warm, soapy water to loosen the adhesive before gently lifting the nails off with a cuticle stick.
During this step, be patient. If the nails still feel firmly attached after a few minutes, keep soaking. Rushing is usually where damage happens.
Step Two: Check for Lifting at the Sides
After soaking, gently check the sides of each press-on nail. You are looking for a small area where the nail has naturally started to loosen.
Do not pull from the tip. Pulling from the tip can create too much pressure and may bend or damage your natural nail.
Instead, use the cuticle stick to gently lift from the side edge. If the nail does not move easily, stop and soak longer.
A good rule: if you have to force it, it is not ready.
Step Three: Gently Work Inward
Once you find a side edge that has loosened, use your cuticle stick to gently work inward. Move slowly and keep the pressure light.
You should not feel pain, pulling, or resistance. If you do, pause and place your nails back in the warm, soapy water for a few more minutes.
Safe removal should feel gradual. The press-on should lift away as the adhesive softens, not snap off suddenly.
Step Four: Soak Again If Needed
Some nails may come off quickly, while others may need more time. That is normal.
If a nail is still secure, do not pry it off. Soak again for another few minutes and then check the side edges.
You may need to repeat the soak-and-lift process if:
- You used longer-wear adhesive tabs
- The press-ons were applied very securely
- You wore them for several days
- Your hands were kept dry after application
- The nail has not started lifting naturally yet
The extra time is worth it if it protects your natural nails.
Step Five: Clean Off Leftover Adhesive
Once the press-ons are removed, you may notice leftover adhesive on your natural nails or on the back of the press-on set.
Use an alcohol wipe to gently clean residue. EyeCandys’ removal instructions note that residual glue can be wiped with an alcohol pad before storing press-ons in the display box for reuse.
Avoid scraping aggressively. If residue does not come off immediately, soften it with more warm water or gently roll it away with your fingertip.
Step Six: Store Reusable Press-Ons Properly
If your press-on nails are reusable, take a little extra care when storing them.
After removal, make sure the press-ons are clean and dry. Then place them back in their original display box or another clean storage container. This helps protect the shape, design, and finish until your next wear.
EyeCandys press-ons are designed with reusability in mind. The brand notes that its salon gel construction can be removed, stored, and reapplied up to 4 times without losing shape or finish when cared for properly.
To protect reusable press-ons:
- Remove them gently
- Clean off leftover adhesive
- Let them dry fully
- Store them in their display box
- Keep them away from dust, moisture, and heat
- Avoid bending or stacking them loosely in a bag
Think of them like beauty accessories. The better you care for them, the more use you can get from your favorite set.
Step Seven: Care for Your Natural Nails After Removal
Once your press-ons are off, give your natural nails a little care.
Wash your hands, dry them gently, and apply cuticle oil around each nail. Follow with hand cream to help restore moisture to your skin and cuticles.
After removal, your nails may feel a little dry, especially if you used alcohol wipes or wore press-ons for several days. That does not always mean they are damaged. They may just need hydration.
A simple post-removal routine includes:
- Washing hands gently
- Drying nails fully
- Applying cuticle oil
- Using hand cream
- Filing rough edges if needed
- Avoiding picking at leftover adhesive
- Letting nails rest if they feel sensitive
If your nails feel thin, sore, peeling, or irritated, give them a break before applying another set.
What Not to Do When Removing Press-On Nails
Most press-on nail damage comes from forcing the removal process. If you want to protect your natural nails, avoid anything that pulls, scrapes, or pries aggressively.
Do not:
- Rip press-ons off
- Pull from the tip
- Use your teeth
- Dig underneath with sharp tools
- Force off a nail that is still stuck
- Scrape your natural nail aggressively
- Pick at leftover adhesive
- Apply a new set over irritated or painful nails
The safest method is always slow and gentle. Soak, lift from the side, and repeat as needed.
How Removal Differs Based on Adhesive Type
The way you remove press-on nails may depend on the adhesive you used.
Regular sticky tabs are usually easier to remove and are ideal for short-term wear, single events, photoshoots, or weekend plans. EyeCandys sets include regular sticky tabs designed for around 3 days or single-event wear.
Insanely Sticky Tabs are designed for longer wear. EyeCandys describes them as high-adhesion, waterproof tabs with a 10-day hold, ultra-thin fit, and damage-free removal. Because they are made for stronger hold, they may need a little more patience during removal.
If you used nail glue, removal may take longer and may require extra care. Never force glued-on nails off. If you feel resistance or discomfort, keep soaking and work slowly.
Can You Remove Press-On Nails Without Soaking?
It is not a good idea to remove press-on nails without soaking if they are still firmly attached.
If a nail is already loose and lifting naturally, you may be able to gently remove it. But if the adhesive is still holding, soaking is the safer option.
Warm, soapy water helps loosen the adhesive so the nail can lift away more easily. Skipping this step can lead to pulling, peeling, or surface damage.
How Long Should You Soak Press-On Nails?
For most press-on nails, 10 to 15 minutes is a good starting point.
If the nails lift easily after that, you can gently remove them. If they still feel secure, soak longer.
You may need more time if:
- You used long-wear tabs
- You used glue
- The nails were recently applied
- The adhesive is still very strong
- You avoided water after application and the bond is holding well
The timing matters less than how the nail feels. If it does not lift gently, keep soaking.
Can You Reuse Press-On Nails After Removing Them?
Yes, many press-on nails can be reused if they are removed carefully and stored properly.
Reusable wear depends on the quality of the press-ons, the adhesive used, how gently they are removed, and how well they are cleaned afterward.
For the best chance of reusing your press-ons:
- Use adhesive tabs when possible
- Remove slowly and gently
- Avoid bending the nails
- Clean residue carefully
- Let the nails dry
- Store them in their box
If the back of the press-on is damaged, heavily coated with glue, or warped, it may not reapply as well.
When to Give Your Nails a Break
Press-ons are a flexible beauty option, but your natural nails still need attention. If your nails feel healthy after removal, you can usually reapply when you are ready. But if they feel weak or irritated, a short break is a good idea.
Give your nails a break if you notice:
- Tenderness
- Peeling
- Redness around the nail
- Rough nail texture
- Splitting
- Bending or weakness
- Irritated cuticles
- Any pain during removal
Use that time to moisturize, apply cuticle oil, keep nails short, and avoid picking.
When Not to Apply Another Set Right Away
Do not apply another press-on set immediately if your nails or skin are showing signs of irritation or damage.
Skip reapplication if:
- Your nail is painful
- Skin around the nail is broken
- Cuticles are bleeding
- The nail is lifting from the nail bed
- There is redness, swelling, warmth, or pus
- You are having an allergic reaction
- Your nails feel extremely thin or sensitive
A manicure should make you feel polished, not uncomfortable. When in doubt, let your nails recover first.
How to Make Next Removal Easier
A smoother removal starts with good application.
If you want your press-ons to come off cleanly later, make sure you apply them correctly from the beginning. EyeCandys recommends placing sticky tabs on the natural nail while leaving a 1 mm gap from the cuticle, avoiding contact with the skin, placing the press-on at a 45-degree angle, and pressing firmly to remove air bubbles.
For easier removal next time:
- Choose the adhesive that matches your wear goal
- Use regular sticky tabs for short-term wear
- Use longer-wear tabs only when you want longer hold
- Avoid flooding the nail with glue
- Do not let adhesive touch the skin
- Remove gently when the set is ready to come off
- Store reusable nails properly
The better your application, the better your removal experience tends to be.
Final Takeaway: Soak, Don’t Peel
Removing press-on nails safely comes down to patience.
Soak your nails in warm, soapy water, gently lift from the side with a cuticle stick, work inward slowly, and never pry from the tip. If a nail does not come off easily, soak again.
After removal, clean any leftover adhesive, moisturize your hands, apply cuticle oil, and store reusable press-ons properly.
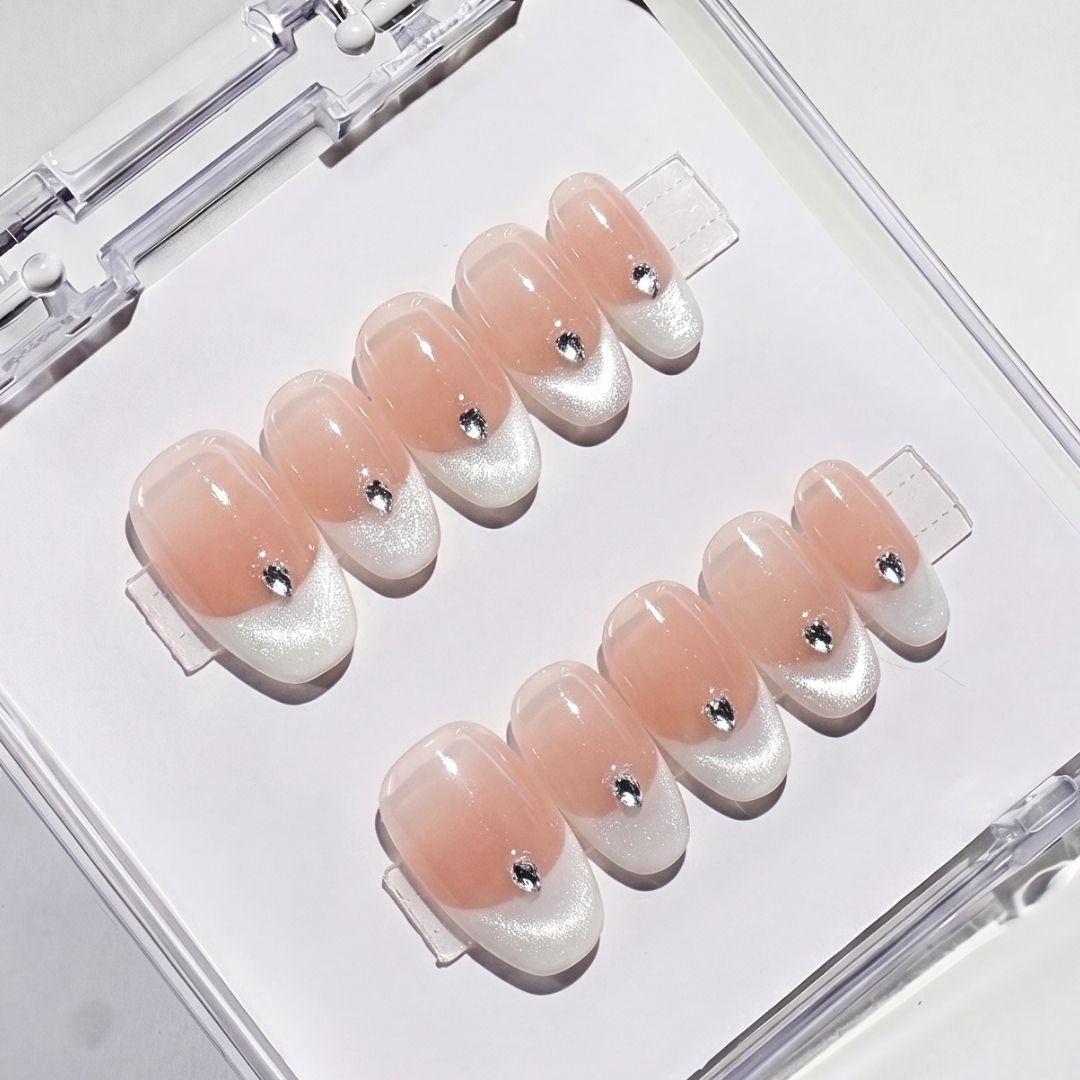
With gentle removal and a little aftercare, EyeCandys handmade press-on nails can stay a fun, flexible, low-commitment way to switch up your manicure without damaging your natural nails.
Salon-Worthy Nails in Minutes
EyeCandys handmade press-on nails snap on, last for days, and come off without damaging your natural nails. The polished manicure your schedule actually fits.