
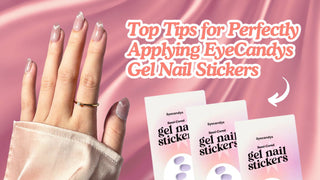
Tips for Using EyeCandys Gel Nail Stickers
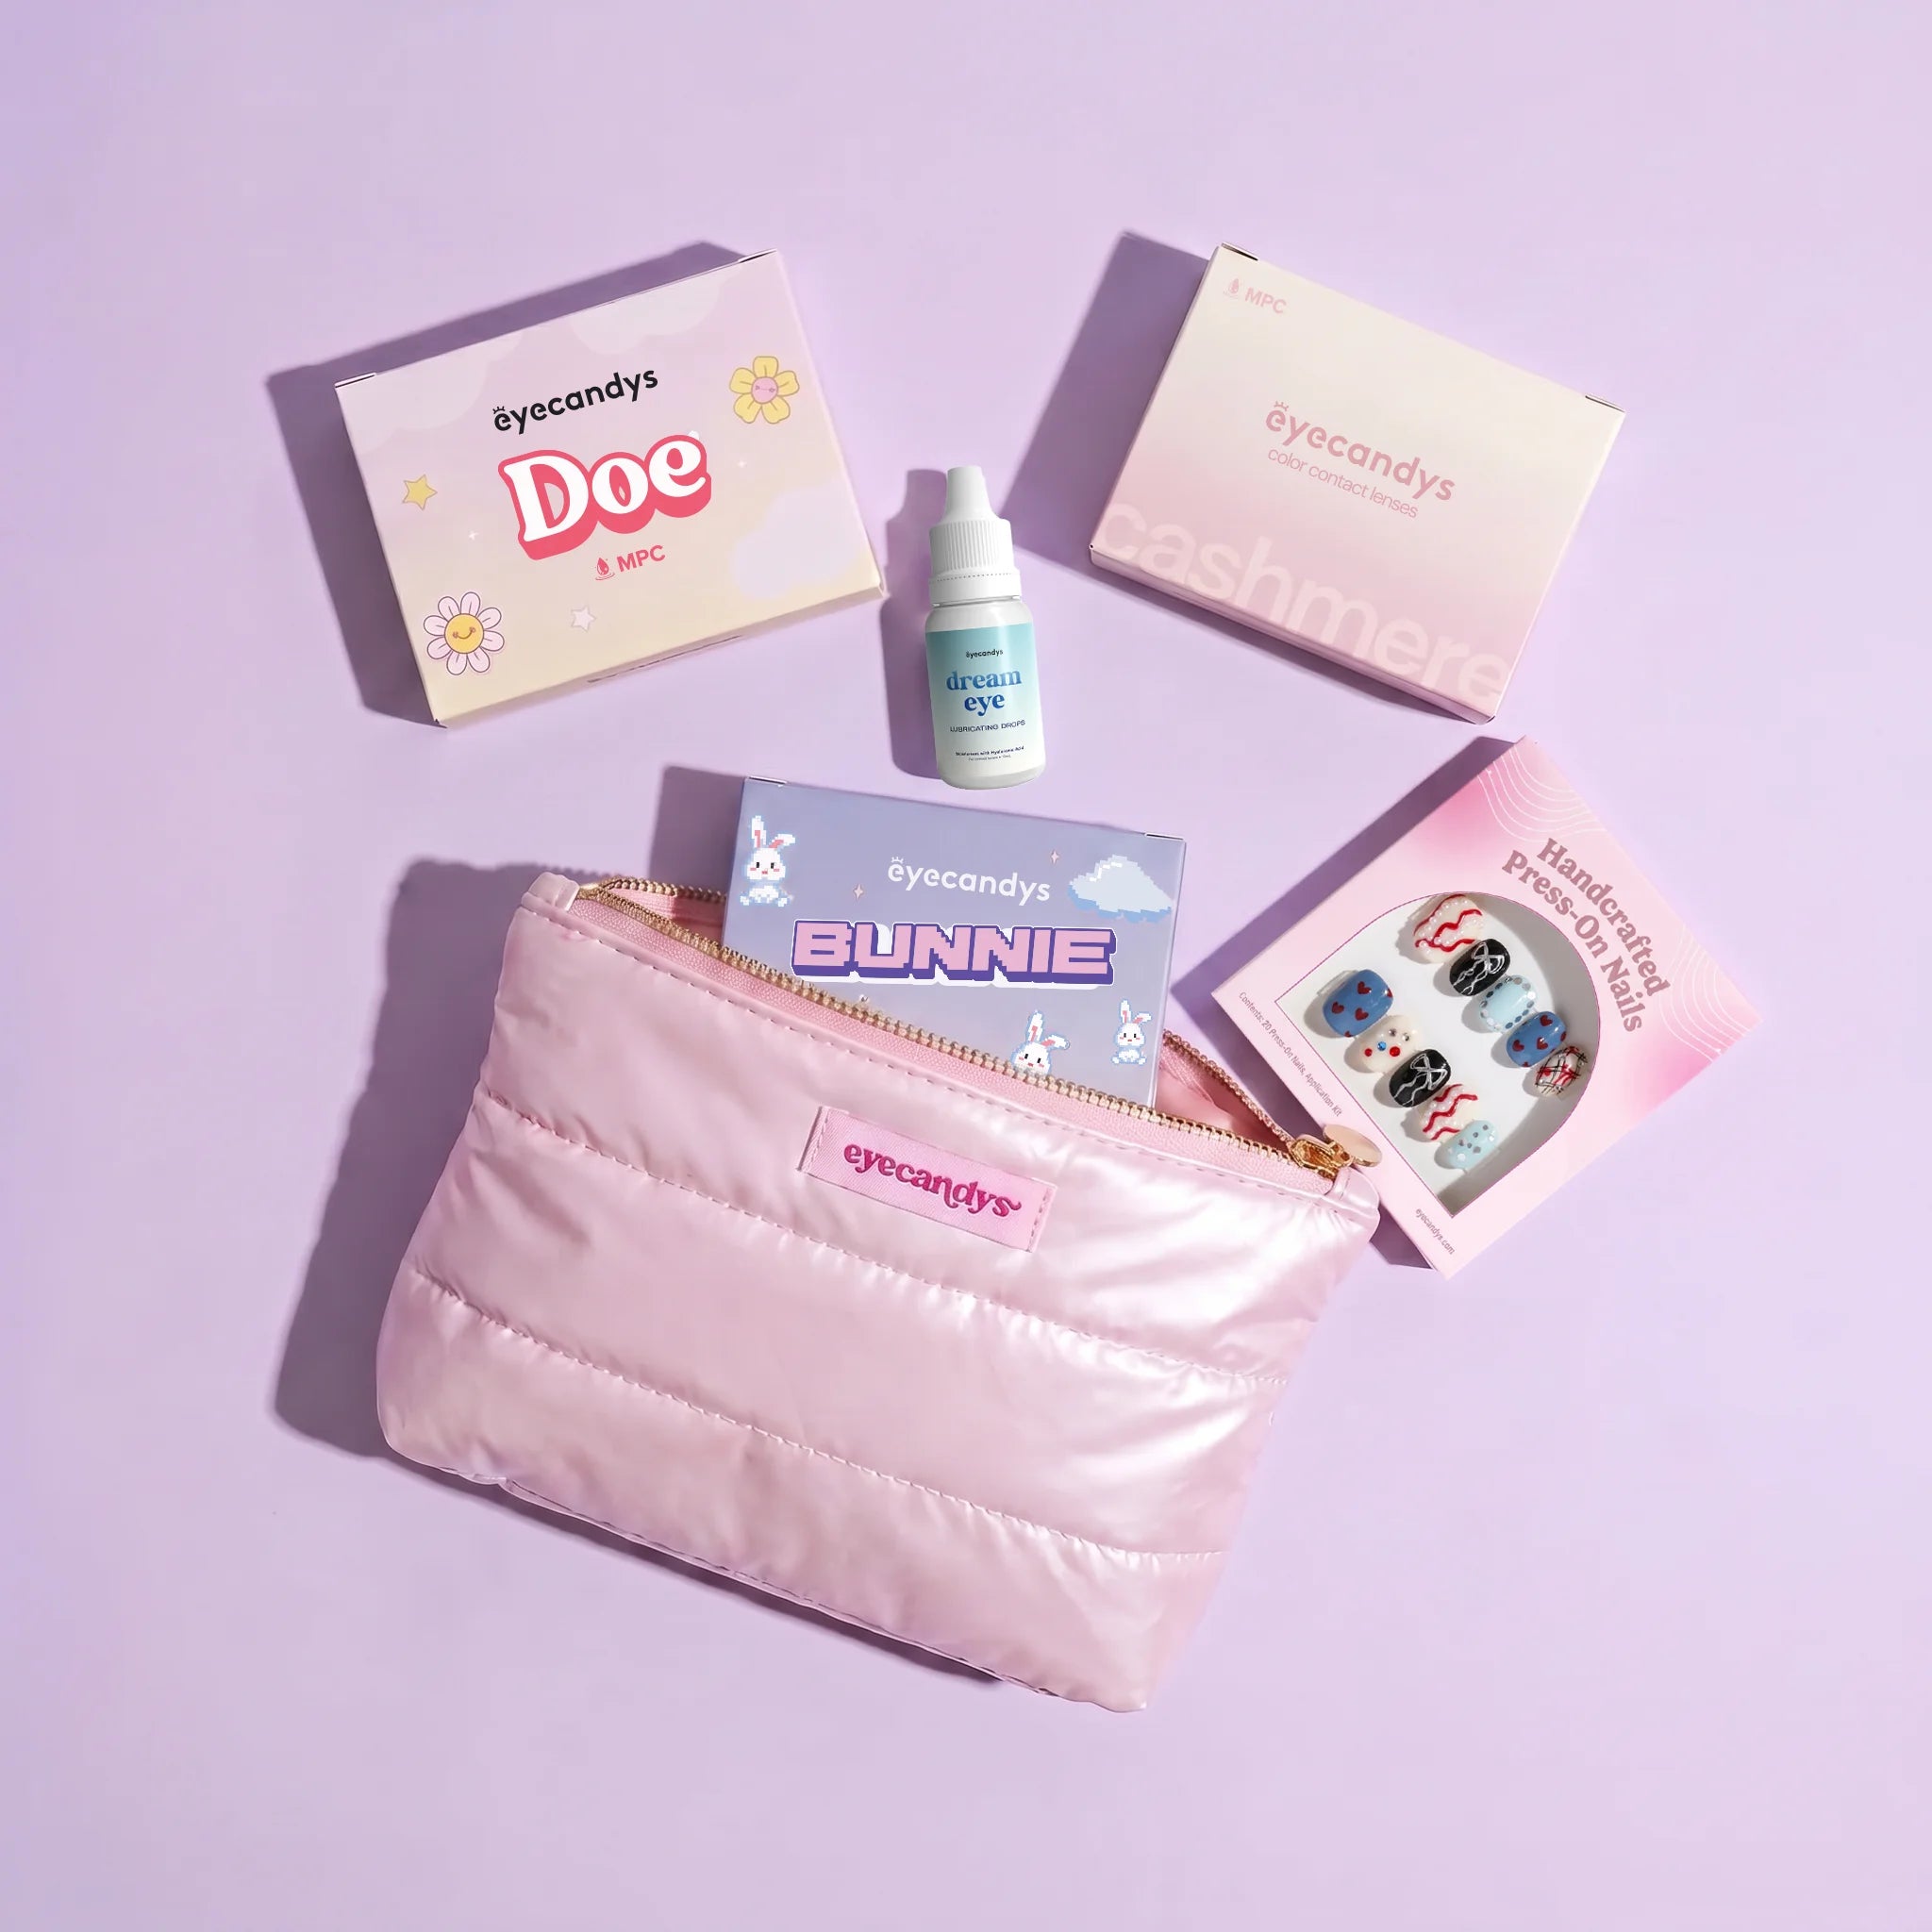
EyeCandys gel nail stickers are a game-changer in the world of nail art, offering an easy, affordable, and stylish way to achieve a salon-quality manicure at home. Whether you're a nail art enthusiast or a beginner, these stickers are designed to give you stunning results with minimal effort. This guide provides detailed tips to ensure you get the most out of your EyeCandys gel nail stickers, along with visuals to inspire your next DIY nail session.
1. Prepare Your Nails Properly
Why Preparation Matters
A well-prepared nail surface ensures the stickers adhere perfectly and last longer. Skipping this step can result in uneven application or premature peeling.
Steps to Prepare
-
Wash your hands thoroughly with soap to remove any dirt or oils.
-
Push back your cuticles gently using a cuticle pusher to create more space for the sticker.
-
Buff your nails lightly to create a smooth surface that helps the stickers adhere.
-
Clean your nails with an alcohol prep pad to remove any remaining residue.
Pro Tip
Avoid applying hand lotion or oil before starting your nail art process, as it can affect adhesion.
2. Select the Right Size and Shape
Why It’s Important
Choosing the right size ensures a natural look and prevents lifting at the edges. Oversized stickers can wrinkle, while undersized ones can leave gaps.
Tips for Selection
-
Align the stickers with your nails to find the best fit.
-
If a sticker is slightly too wide, use small scissors or nail clippers to trim it for a perfect match.
-
Consider your nail shape (round, square, almond) and adjust accordingly.
Pro Tip
Keep the sticker slightly smaller than your nail to avoid it overlapping onto your skin, which can lead to lifting.
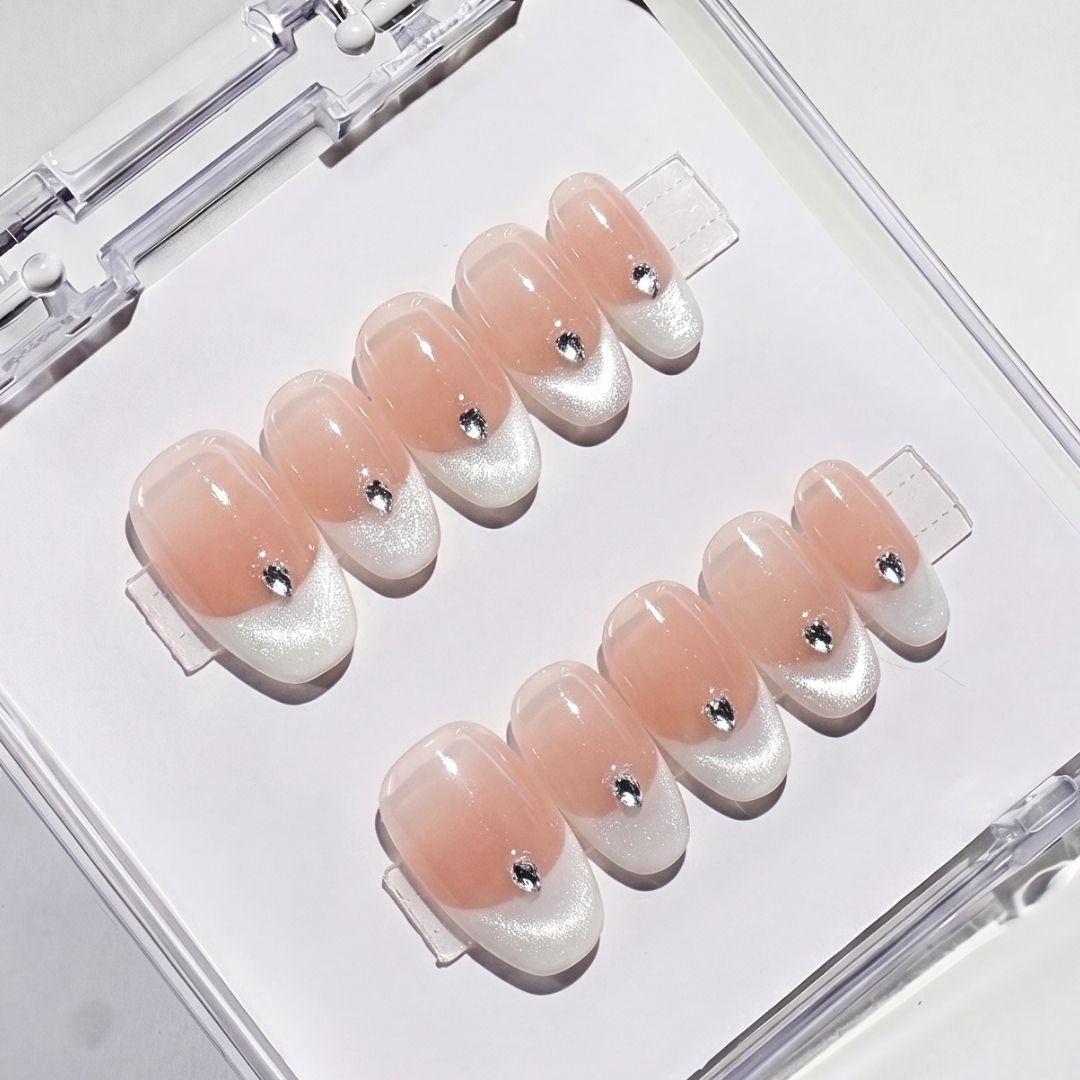
3. Apply with Precision
Why It’s Important
Proper application minimizes air bubbles and ensures a long-lasting finish. Taking your time during this step is crucial for achieving a polished look.
Steps to Apply
-
Place the sticker near the cuticle, leaving a tiny gap to avoid lifting.
-
Press down gently and smooth the sticker outward, working from the center to the edges.
-
Use a nail file to remove any excess material. File in one direction for the cleanest results.
Pro Tip
Use a silicone nail tool to press the sticker firmly along the edges and corners of your nail.
4. Cure for Longevity
Why It’s Important
Curing hardens the gel for durability and a salon-like finish, ensuring your stickers stay safe and long-lasting. It ensures the stickers stay in place for weeks without chipping.
Tips for Curing
-
Use a UV or LED lamp for 60 seconds to set the stickers.
-
For extra durability, flip your hand and cure the undersides of your nails as well.
Pro Tip
Ensure your UV lamp is positioned evenly so that all nails receive adequate light.
5. Finish with a Top Coat
Why It’s Important
A top coat adds shine, protects the stickers, and extends the life of your manicure. It gives your nails that professional, glossy look.
Tips for Finishing
-
Apply a thin, even layer of top coat over the stickers.
-
Cure the top coat under a UV or LED lamp for another 60 seconds.
Pro Tip
If you prefer a matte finish, opt for a matte top coat to change up the look.
6. Removal Without Damage
Why Proper Removal Matters
Removing stickers the right way prevents nail damage and keeps your nails healthy. Rushing through this step can weaken your natural nails.
Steps for Removal
-
Apply cuticle oil generously around the edges of the sticker.
-
Use a wooden stick to gently lift and peel off the sticker, starting from the sides.
-
Clean your nails with an alcohol pad to remove any adhesive residue.
Pro Tip
Soak your nails in warm, soapy water for a few minutes before removal for easier peeling.
Conclusion
With these detailed tips, using EyeCandysgel nail stickers becomes a breeze. From proper preparation to flawless removal, these stickers are designed to give you stunning results every time. Whether you’re prepping for a special occasion or just indulging in some self-care, EyeCandys gel nail stickers are here to elevate your manicure game. Explore the collection today and discover how easy it is to achievesalon-quality nails for teens and tweensfrom the comfort of your home!”