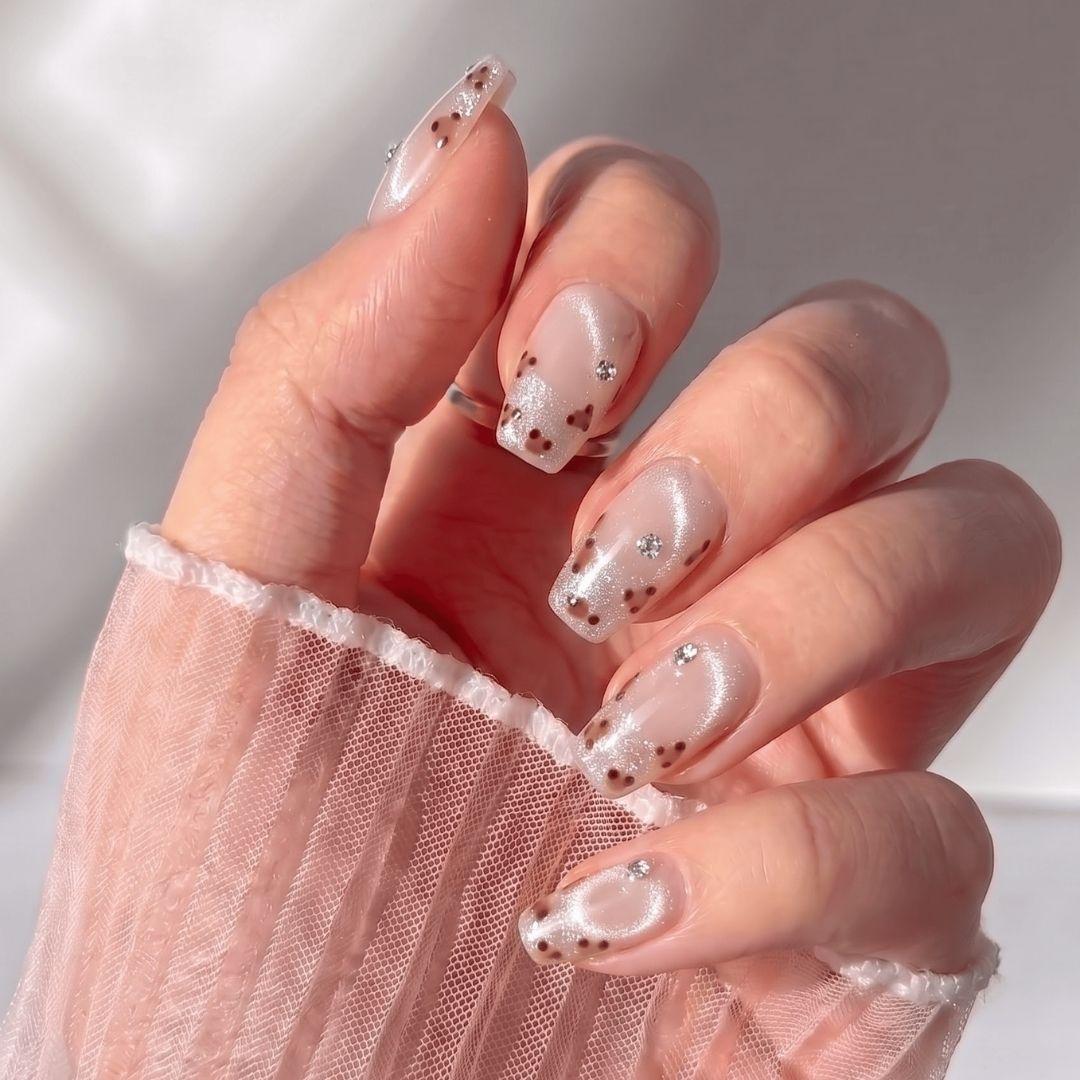
A salon-quality gel manicure has a very specific look: smooth color, glossy shine, clean edges, no bubbles, no smudges, and a finish that makes your hands look instantly more polished.
The tricky part is getting that same look at home.
At-home gel nails can be beautiful, but they are not quite as simple as painting on regular polish. Gel requires careful prep, thin layers, proper curing, and safe removal. Skip one of those steps, and your manicure may peel, wrinkle, lift, or leave your natural nails feeling weaker than before.
The good news is that salon-quality gel nails at home are possible when you slow down and follow the right steps. And if the full gel process feels like too much, EyeCandys handmade press-on nails can give you a polished manicure look in minutes with no lamp, no dry time, and no gel removal routine.
Here is how to make an at-home gel manicure look smoother, last longer, and feel more professional.
What Makes Gel Nails Look Salon-Quality?
Salon-quality gel nails are not just about the color. The difference is in the details.
A professional-looking gel manicure usually has a clean nail shape, smooth polish layers, a neat cuticle line, fully cured gel, and a glossy top coat. The polish should not be flooded into the cuticle or touching the skin. The surface should not look bulky, wrinkled, bubbly, or uneven.
A good gel manicure should look like each layer was placed with intention. That does not mean it has to be complicated. A simple nude, red, white, pink, or French-style gel manicure can look salon-quality if the prep and application are clean.
The biggest things that make gel nails look professional are:
- Clean nail prep
- Even nail shaping
- Thin polish layers
- No gel touching the skin
- Proper curing
- A smooth top coat
- Careful removal later
Gel manicures can be long-lasting, but repeated gel manicures and improper removal can be tough on natural nails, so application and removal both matter.
Start With Clean, Dry Nails
The best gel manicure starts with a clean nail surface. Gel polish needs something to grip, and oils, lotion, sunscreen, soap residue, dust, or old polish can interfere with adhesion.
Before applying gel polish, remove any old nail color and wash your hands. Dry them completely. Then use alcohol or a nail cleanser to remove oils from the nail plate.
Avoid applying hand cream or cuticle oil right before gel polish. Those products are great for nail care, but they can make gel lift if they are left on the nail surface before application.
A simple prep routine looks like this:
- Remove old polish
- Wash hands
- Dry completely
- Gently push back cuticles
- Lightly buff the nail surface
- Wipe nails with alcohol or nail cleanser
- Let nails dry fully before applying gel
If your gel nails peel off at home, oily nails or skipped prep are often part of the problem. Even if your nails look clean, a quick alcohol wipe can make a big difference.
Shape and Buff Before You Apply Gel
Always shape your nails before applying gel polish. Once the gel is cured, filing can break the seal at the tip and make chipping or lifting more likely.
Choose a nail shape that fits your lifestyle. Short round, oval, soft square, and short almond shapes are great for everyday wear. Longer shapes can look beautiful, but they may require more maintenance.
After shaping, lightly buff the nail surface. The goal is not to thin your nails or file aggressively. You are simply removing shine so the gel can adhere better.
Be gentle around the cuticles. Cuticles help protect the nail area, and aggressive cutting or picking can lead to irritation. For a clean at-home gel manicure, think “neat and gentle,” not “file everything down.”
You can read more in these healthy nail tips from the American Academy of Dermatology.

Apply Thin Layers
Thin layers are one of the biggest secrets to salon-quality gel nails at home.
It can be tempting to apply a thick coat to get full color faster, but thick gel can wrinkle, bubble, or cure unevenly. It can also make the finished manicure look bulky.
Gel polish works best when it is applied in thin, even layers and cured between each step. Build the color slowly instead of trying to get full coverage in one coat.
A good gel application usually includes:
- Thin base coat
- Thin first color coat
- Thin second color coat
- Optional third coat if needed
- Thin top coat
Each layer should be smooth and even. If the first color coat looks slightly sheer, that is okay. The second coat usually gives better coverage.
Also remember to cap the free edge, which means lightly brushing polish along the tip of the nail. This helps seal the edge and can reduce chipping.
Do Not Flood the Cuticle
One of the most common at-home gel mistakes is getting polish too close to the cuticle or onto the skin.
Gel polish should stay on the nail plate. If gel touches the skin or floods the cuticle area, it can lift faster. It may also increase the chance of irritation for some people, especially if the gel is not fully cured.
Leave a tiny gap around the cuticle and sidewalls. The manicure will still look polished, but it will be cleaner and more comfortable.
If gel does touch your skin, clean it up before curing. Once gel is cured under the lamp, it is much harder to fix neatly.
A small cleanup brush can help create a sharper cuticle line. Dip the brush in alcohol or cleanser, then carefully remove polish from the skin before curing.
Cure Each Layer Properly
Gel polish needs to cure under a UV or LED lamp to harden. This is what gives gel its long-lasting, glossy finish.
Always follow the curing instructions for the specific gel polish brand you are using. Not all gels cure the same way, and not all lamps are compatible with every product.
If gel is under-cured, it may wrinkle, peel, feel soft, or fail to last. Under-cured gel may also be more likely to irritate sensitive skin.
Curing tips for better results:
- Use a lamp that is compatible with your gel polish
- Cure each layer for the full recommended time
- Do not rush the curing step
- Cure thumbs separately if needed
- Make sure the whole nail is under the light
- Keep layers thin so they cure evenly
If gel manicures are part of your regular routine, it is also worth protecting the skin on your hands during curing. A broad-spectrum SPF or dark, opaque fingerless gloves can help reduce UV exposure during the manicure.
You can read more about gel manicure safety from the American Academy of Dermatology.

Finish With a Good Top Coat
Top coat is what gives gel nails that glossy, salon-style finish. It also helps protect the color underneath.
Apply the top coat in a thin, even layer. Make sure you cover the entire nail and cap the free edge. Cure it fully according to the product instructions.
Some top coats leave a tacky layer after curing, while others are no-wipe formulas. If your top coat has a tacky layer, wipe it off with the recommended cleanser after curing. If it is a no-wipe formula, do not wipe unless the instructions say to.
A good top coat can make a simple manicure look more polished, especially with classic shades like nude, sheer pink, red, white, peach, or black.
Common At-Home Gel Mistakes
If your at-home gel nails do not look smooth or do not last, one of these mistakes may be the reason.
Applying gel over oily nails can cause peeling because the polish cannot grip properly. Skipping buffing can also make the surface too smooth for the gel to hold. Thick layers may wrinkle or cure unevenly. Gel touching the skin can lead to lifting. Not curing long enough can leave the polish soft or unstable.
Another big mistake is picking or peeling gel off when it starts to lift. This can remove layers of the natural nail and leave nails feeling rough, thin, or sensitive.
Common gel nail mistakes include:
- Applying gel over lotion, oil, or sunscreen
- Skipping nail prep
- Buffing too aggressively
- Applying coats that are too thick
- Getting gel on the skin
- Not curing each layer fully
- Using an incompatible lamp
- Picking or peeling gel off
- Applying gel over damaged nails
- Skipping proper removal
If your gel nails peel off at home, start by looking at prep, layer thickness, curing time, and whether any polish touched your skin before curing.
How to Make At-Home Gel Nails Last Longer
A long-lasting gel manicure starts before the first coat of polish.
Prep well, apply thin layers, cure correctly, and protect your nails after application. The better the foundation, the better the manicure will wear.
To help gel nails last longer:
- Start with clean, dry nails
- Remove oils with alcohol or nail cleanser
- Shape nails before polishing
- Lightly buff the nail surface
- Keep gel off the skin and cuticles
- Apply thin layers
- Cap the free edge
- Cure each layer properly
- Avoid picking at lifted edges
- Wear gloves when cleaning or washing dishes
- Do not use nails as tools
After your manicure is finished, you can use cuticle oil and hand cream to keep the surrounding skin hydrated. Just avoid using oily products before gel application.
How to Remove Gel Nails Safely
Removal is where a lot of nail damage happens.
Gel polish should not be peeled, picked, or forced off. When you peel gel off, it can take layers of your natural nail with it, leaving the surface rough and weak.
Some soak-off gel polish can be removed at home with careful soaking, while hard gel usually needs professional removal because it does not soak off the same way. If you are not sure what type of gel you have, ask a nail professional before trying to remove it yourself.
For soak-off gel, protect the skin around the nails before using acetone, soak cotton in acetone, wrap the fingertips, and gently remove loosened polish rather than forcing it off. If the gel does not lift easily, soak longer instead of scraping harder.
You can read more about removing gel polish from the American Academy of Dermatology.
After removal, wash your hands gently and moisturize. If your nails feel thin, sore, peeling, or sensitive, give them time before applying another gel manicure.

When At-Home Gel May Not Be the Best Choice
At-home gel is not always the best option, especially if your nails are already struggling.
You may want to skip gel for now if your nails are thin, peeling, sore, lifting, or damaged. You should also pause if you have broken skin, irritation around the nails, or a history of reacting to gel products.
At-home gel may also not be ideal if you do not have the right lamp, do not want to deal with removal, or only need nails for one event. Gel can be beautiful, but it takes time, tools, patience, and proper removal.
Gel may not be the best choice if:
- Your nails feel weak or sore
- Your nails are peeling or splitting
- You have irritation around the nail
- You have reacted to gel products before
- You do not have a compatible curing lamp
- You need nails fast
- You only want a manicure for one event
- You do not want to deal with acetone removal
If your main goal is simply to look polished quickly, press-ons may be a better fit.
A Faster Alternative: Handmade Press-On Nails
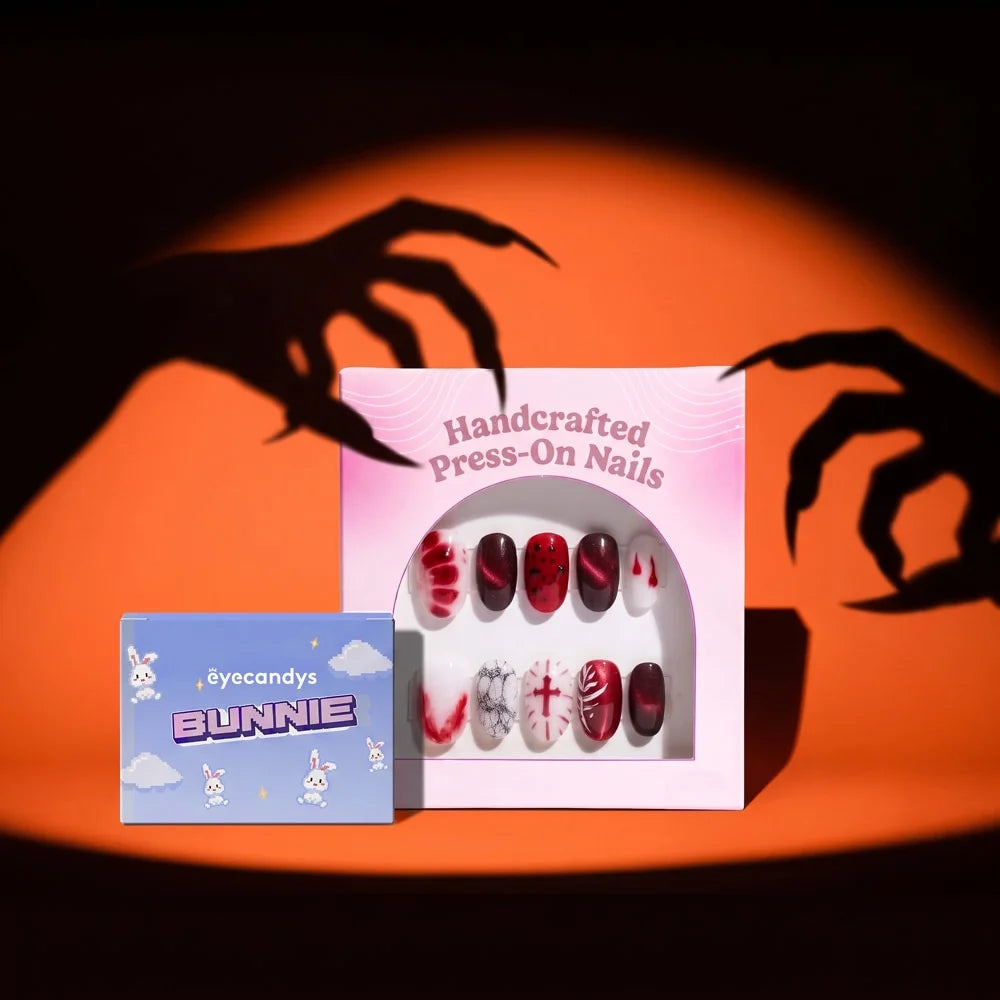
If you love the look of salon-quality nails but not the full gel process, EyeCandys handmade press-on nails are an easy alternative.
Press-ons give you a finished manicure look without painting, curing, or waiting for polish to dry. The color, design, shape, and shine are already done. You just prep your natural nails, choose the right size, apply the adhesive, and press them on.
This makes press-ons especially helpful for last-minute plans, events, weekends, travel, cosplay, photos, school dances, weddings, and busy schedules.
EyeCandys handmade press-on nails can also be removed gently and reused when cared for properly. That makes them a flexible option if you like changing your nails to match your outfit, season, mood, or plans.
They are also a great choice if you do not want to commit to one manicure for weeks. Wear pearl nails for a wedding, chrome nails for a night out, French tips for work, or bold color for a weekend trip.

Gel Nails vs. Press-On Nails: Which Is Better for You?
Gel nails and press-on nails can both give you a polished manicure, but they fit different needs.
Gel may be better if you want a longer-wear polish manicure and do not mind the curing and removal process. It can be a good choice for glossy natural nails, simple nail art, and a manicure you plan to keep for a while.
Press-ons may be better if you want something faster, easier to change, and lower commitment. They are ideal if you want nails for a specific outfit, event, weekend, trip, or photoshoot.
Gel may be better if you want:
- A salon-style polish manicure
- A glossy finish
- A longer-wear option
- A natural nail look
- A manicure you do not plan to remove soon
Press-ons may be better if you want:
- A faster manicure
- No curing lamp
- No dry time
- Reusable styles
- Lower commitment
- Nails for a specific outfit or event
- The ability to change looks often
For many people, the easiest way to get salon-quality nails at home is not necessarily gel. It may be a high-quality press-on set that already has the shape, finish, and design done for you.
How to Get a Salon-Quality Look Without the Salon
The secret to a salon-quality manicure at home is choosing the option that fits your routine.
If you enjoy the process of painting, curing, and perfecting your own nails, gel can be a great DIY beauty ritual. Take your time with prep, use thin layers, cure properly, and remove the gel safely when it is time.
If you want the polished look without the full routine, handmade press-ons can be the easier choice. EyeCandys press-ons give you a styled manicure at home without needing to paint tiny details, wait for polish to dry, or use a curing lamp.
Both options can look beautiful. The best choice depends on your schedule, skill level, nail health, and how often you like to change your manicure.
Final Takeaway: Salon-Quality Nails at Home Start With the Right Routine
At-home gel nails can look salon-quality when you prep properly, apply thin layers, cure each coat correctly, and remove the gel safely. Small details like clean nails, careful cuticle lines, compatible products, and a smooth top coat make a big difference.
But gel nails do take time, tools, and patience.
If you want a faster way to look polished, EyeCandys handmade press-on nails offer a salon-inspired look without the full gel routine. You can apply them at home, match them to your outfit or mood, remove them gently, and reuse them when cared for properly.
Whether you choose gel or press-ons, the goal is the same: nails that look beautiful, feel comfortable, and fit your life.
RELATED READING:
- How to Find Your Perfect Nail Length and Shape
- The 10-Minute Manicure: How to Look Put Together Fast
- Is Dip Powder Bad for Your Nails? What to Know Before Your Next Manicure


Bring Your Character Transformation to Life
Ready to add the final details to your next cosplay? Explore EyeCandys colored contacts, prescription lenses, and handmade press-on nails to bring your character transformation to life.