Step-by-Step Guide to Mastering Nail Art at Home
Nail art is the perfect way to elevate your style and express your creativity. The best part? You don’t have to visit a salon to achieve stunning designs. With a little patience, the right tools, and some guidance, you can create gorgeous nail art at home. Whether you’re a beginner or looking to sharpen your skills, this comprehensive guide will teach you how to master nail art step by step.
Gather Your Tools and Materials
To create beautiful nail art, you need the right tools and materials. Having a well-stocked nail art kit ensures your designs look polished and professional.
Basic Tools:
-
Nail file and buffer
-
Base coat and top coat
-
Nail polishes in various colours
Nail Art Tools:
-
Dotting tools for creating dots, flowers, or intricate patterns
-
Fine brushes for detailed freehand designs
-
Striping tape for clean lines
-
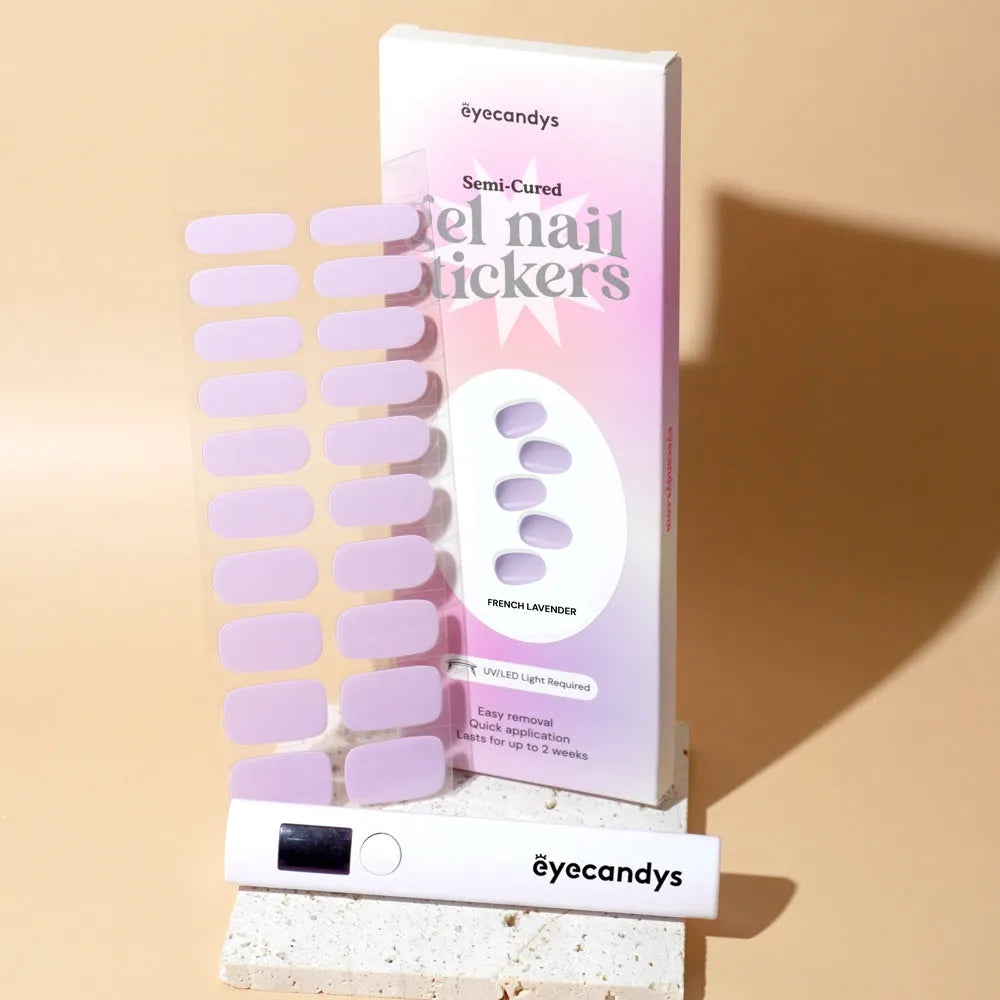
Nail stencils or stickers for easy patterns
Optional Advanced Tools:
-
UV lamp for curing gel polish
-
Rhinestone applicators for adding embellishments
-
Nail foils, glitter, and decals for extra flair
Cleanup Tools:
-
Cotton swabs, cleanup brushes, and acetone for fixing mistakes
-
A steady hand and patience!
Pro Tip: Organize your tools and keep them easily accessible. A clutter-free setup can make your nail art process smoother.
Prep Your Nails
Prepping your nails is a crucial step that sets the foundation for any nail art. Skipping this step can result in uneven designs or poor polish adhesion.
-
Remove Old Polish: Start with clean nails. Use a gentle, acetone-free remover to avoid drying out your nails.
-
Shape Your Nails: Use a fine-grit file to shape your nails into your desired style—oval, square, almond, or coffin.
-
Buff the Surface: Lightly buff your nails to remove ridges and create a smooth canvas.
-
Care for Your Cuticles: Push back cuticles gently with a wooden or silicone pusher. Apply cuticle oil to hydrate and nourish.
-
Apply a Base Coat: A good base coat protects your nails from staining and helps your polish adhere better.
Pro Tip: Don’t rush through prep—taking time here ensures your nail art lasts longer and looks flawless.
Choose Your Design
Picking the right design is part of the fun! Tailor your choice to your skill level, mood, or upcoming occasion.
-
Beginners: Start with simple designs like polka dots, stripes, or accent nails.
-
Intermediate: Try gradients, ombre effects, or layering multiple colours.
-
Advanced: Experiment with freehand art, intricate patterns, or 3D elements like rhinestones.
Pro Tip: Look for inspiration online, but don’t hesitate to create your own unique designs.
Step-by-Step Nail Art Techniques
Simple Designs for Beginners
-
Polka Dots: Use a dotting tool or a bobby pin dipped in polish to add evenly spaced dots.
-
Stripes: Apply striping tape in straight or diagonal lines, then paint over them. Remove the tape while the polish is wet for crisp lines.
-
Accent Nails: Paint one or two nails with a bold design while keeping the others simple for an effortless yet stylish look.
Intermediate Techniques
-
Ombre Effect: Dab two colours onto a makeup sponge and press it onto your nails for a seamless gradient.
-
Stamping: Apply polish to a stamping plate, scrape off the excess, and transfer the design to your nail using a stamper.
-
Layering Patterns: Use a mix of polishes and tools to layer stripes, dots, or shapes for a multi-dimensional effect.
Advanced Techniques
-
Freehand Art: Use a fine brush to draw intricate designs like flowers, geometric shapes, or abstract patterns.
-
3D Embellishments: Attach rhinestones, pearls, or studs with nail glue or gel for a dramatic look.
-
Reverse French Tips: Paint the lower curve of your nails instead of the tips for a modern twist.
Pro Tip: Practice each technique on a nail wheel or practice hand before applying it to your nails.
Finish and Protect Your Design
Your nail art isn’t complete without a polished finish. Sealing and protecting your design ensures it lasts longer and looks professional.
-
Apply a Top Coat:Use a high-quality top coat to seal your design, add shine, or create a matte finish.
-
Allow Proper Drying Time: Patience is key—let each layer dry thoroughly before applying the next.
-
Clean Up Edges: Dip a small brush into acetone to tidy up any polish outside your nails for a salon-quality look.
Pro Tip: Quick-dry drops or sprays can speed up the drying process if you’re short on time.
Nail Art Maintenance and Removal
To keep your nail art looking its best:
-
Moisturize Regularly: Keep your cuticles and nails hydrated to prevent dryness and cracking.
-
Avoid Harsh Chemicals: Wear gloves during chores to protect your nails from cleaning products.
-
Be Gentle During Removal: Use an acetone-based remover or soak-off method to avoid damaging your nails.
Common Mistakes and How to Avoid Them
Even seasoned nail artists make mistakes, but they’re easy to fix with practice:
-
Smudging: Wait until each layer dries before applying the next to avoid smears.
-
Uneven Lines: Use guides like striping tape for clean edges.
-
Chipping: Always use a base and top coat to protect your design.
Pro Tip:If you make a mistake, don’t panic! You can always correct it with cleanup tools or start fresh.
Additional Tips for Mastering Nail Art
-
Practice Regularly: Like any skill, nail art improves with practice. Experiment with different designs and techniques.
-
Try New Tools: Don’t be afraid to explore unique tools like sponges, stamps, or stencils.
-
Stay Inspired: Follow nail artists on social media or watch tutorials for fresh ideas and techniques.
-
Embrace Imperfections: Small flaws can add character and make your designs uniquely yours.
Conclusion
Mastering nail art at home is a creative and rewarding journey. With the right tools, techniques, and practice, you can create stunning designs for any occasion. Whether you’re a beginner experimenting with polka dots or an advanced artist crafting 3D embellishments, nail art is all about expressing your personal style.
Ready to start your DIY nail art adventure? Gather your tools, prep your nails, and let your creativity shine. With time and patience, you’ll be creating designs that rival any salon!


